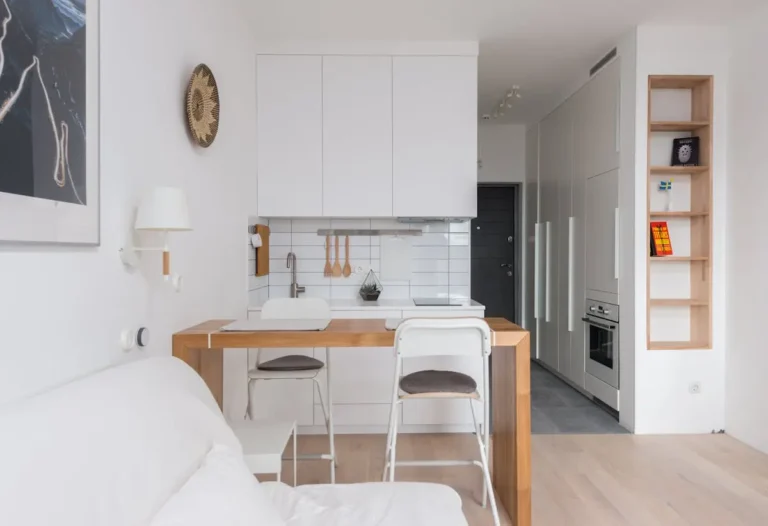
Best Kitchen Storage Solutions: A Designer’s Guide To A Kitchen That Actually Works
Most kitchens are organized to hold things, not to use them.
That’s why your cabinets are full, your counters are crowded, and you still can’t find the spatula when you need it.
In this guide, we’re going to talk about the best kitchen storage solutions from a designer’s point of view: not “more baskets”, but better workflow.
The 3 Zones of Reach
Before we get into hardware and kitchen cabinet organizers that pull out, we need a simple framework:
- Primary Zone: From waist to eye level
This is your prime real estate. Anything you use daily should live here. - Secondary Zone: From knees to waist
Good for heavier, less-frequent items like big pots, mixing bowls, or small appliances. - Tertiary Zone: Floor level or step-stool height
Deep storage. Think holiday serving dishes, rarely used gadgets, extra paper towels.
Once you start seeing your kitchen in zones, every decision becomes easier. And I’ll show you exactly where each storage solution belongs as we go.
The “Blind Corner” Battle (The #1 Pain Point)

Blind corner cabinets are the troublemakers of small and large kitchens alike.
If you’ve ever crawled halfway into a cabinet for a pot, you know the pain.
Let’s compare the most common corner mechanisms so you can invest once and correctly.
Comparison Table: Corner Solutions
Use this as a quick cheat sheet. I’ll add my opinion below the table.
| Mechanism | Storage Efficiency (%) | Cost | Ease of Install |
|---|---|---|---|
| Basic Lazy Susan | ~60% | $ | Medium DIY |
| Magic Corner Pull-Out | ~75% | $$ | Pro or Skilled DIY |
| Cloud / LeMans System | ~85% | $$$ | Usually Pro Install |
How to read this:
- Lazy Susan:
Better than a dark hole, but you still lose the very back corners and smaller items can fall over. I only recommend it if you’re on a tight budget. - Magic Corner:
Wire baskets slide out in stages. You see almost everything without crawling inside. Good middle ground on price and function. - Cloud / LeMans:
These “kidney-shaped” trays glide completely out of the cabinet. You can use roughly 85% of that awkward space and access it from the side. In my experience, this is where your money is best spent if you cook often.
If you can only splurge on one hardware upgrade, I usually recommend the Cloud-style corner pull-out. It genuinely changes how your kitchen works.
Cabinet “Interior Design” (Retrofitting Shelves)
Now we tackle the part most people ignore: the inside of the cabinets.
Think of this as doing “interior design” for your cabinet interiors, not just the room.
The Pull-Out Upgrade
Static shelves are the main reason you end up on your knees, pulling things out to reach the back.
One of the best kitchen storage solutions you can invest in is:
Replace fixed shelves with slide-out drawers or trays.
Why this works
- You turn deep cabinets into shallow, accessible ones.
- You can see items in the back without unloading the front.
- It instantly makes old cabinets feel custom.
Pull-out systems come in different forms:
- Full-extension drawer boxes on runners
- Metal pull-out baskets that screw to the existing shelf or base
- Retrofit kits designed specifically as kitchen cabinet organizers pull out
In my experience, you should start with:
- The cabinet with pots and pans
- The cabinet with food storage containers (the chaos zone)
Do those two first and you’ll feel the difference every single day.
Vertical Tray Dividers
If you’re stacking cutting boards, baking sheets, and trays flat, you’re working too hard.
Instead, store them vertically like files.
Where to put them
- Above the fridge (great for rarely used baking sheets)
- In a narrow 9–12 inch wide cabinet near the oven
- In the top portion of a tall pantry cabinet
Use:
- Built-in vertical dividers
- Or a simple metal rack to create dividers
The big mistake is letting these items lie flat. Vertical dividers mean you slide one out with two fingers instead of unstacking five.
Drawer Optimization (The Tetris Strategy)
Drawers are your most valuable storage real estate.
Treat them like Tetris: every piece needs a defined home.
Diagonal vs. Straight Organizers
Most utensil trays are divided into straight, horizontal compartments.
That’s fine for short cutlery, but what about:
- Long spatulas
- Whisks
- Tongs
- Rolling pins
They get jammed diagonally into a straight grid and you lose space.
A smart upgrade is a diagonal organizer:
- The compartments run corner-to-corner.
- Longer tools fit easily without blocking the drawer from closing.
- You use more of the drawer’s interior length.
In my experience, one diagonal drawer for all long tools plus one classic straight organizer for cutlery is a strong combination.
The “Peg System” for Plates
One of my favorite, slightly underrated trends:
Move plates out of overhead cabinets and into deep drawers using a peg system.
How it works:
- A board with adjustable wooden pegs sits inside the drawer.
- Plates nest between the pegs, so they don’t slide.
- You can pull out the whole stack at waist height.
Why this is smart
- Ergonomics: no more reaching up with heavy stacks.
- Visibility: you see everything at once.
- It frees up upper cabinets for lighter pantry items or glassware.
If you’re planning a new kitchen or updating existing drawers, I highly recommend dedicating one deep drawer to plates and bowls with a peg system.
The Pantry: “Supermarket” Logic
If your pantry feels chaotic, think like a supermarket, not a storage unit.
Shelves should support flow, not just capacity.
The “FIFO” Method (First In, First Out)
The supermarket rule is simple: old stock in front, new stock behind.
You can copy that with:
- Can rotators for canned goods
- Gravity-feed organizers for drinks, canned items, or snacks
Instead of a messy wall of cans, you get:
- One tidy front row
- New items automatically move forward as you use the older ones
This makes it much harder for food to expire at the back.
Door-Mounted Racks
Pantry doors are storage opportunities, not just barriers.
I prefer door-frame-mounted systems over hook-over-the-top versions. They:
- Don’t stress the hinges
- Sit flatter to the door
- Look more built-in
“Elfa-style” racks are a good example:
- Rails screw into the frame or solid core
- Baskets are adjustable
- Perfect for spices, oils, or snacks in clear bins
If you’re renting and can’t drill, you can look for strong over-door systems, but check that your door still closes cleanly.
Countertop Control (Appliance Garages)
Let’s talk about small kitchen counter storage ideas without giving up your minimalist look.
The goal is simple: keep what you use daily inside Primary Reach, but visually calm.
The “Appliance Garage” Concept
If your counters are lined with a toaster, kettle, blender, and coffee machine, you don’t have a storage problem, you have a visibility problem.
An appliance garage hides the visual clutter but keeps the function.
You can:
- Build a full-height cabinet with a lift-up door that stays open while you work
- Use a tambour door (roll-up slats) to cover a corner section of counter
- Turn an existing upper cabinet into a garage by removing the bottom shelf and adding a deeper work surface below
The key is electrical access:
- Make sure there’s a power outlet at the back of the garage
- Leave enough depth for the appliance and cord
If a full built-in isn’t in the budget, you can imitate the idea with:
- A deep countertop box or sideboard-style cabinet placed directly on the counter
- Doors that open fully to avoid awkward angles
In my experience, hiding just two appliances (usually coffee machine and toaster) makes the entire kitchen feel calmer.
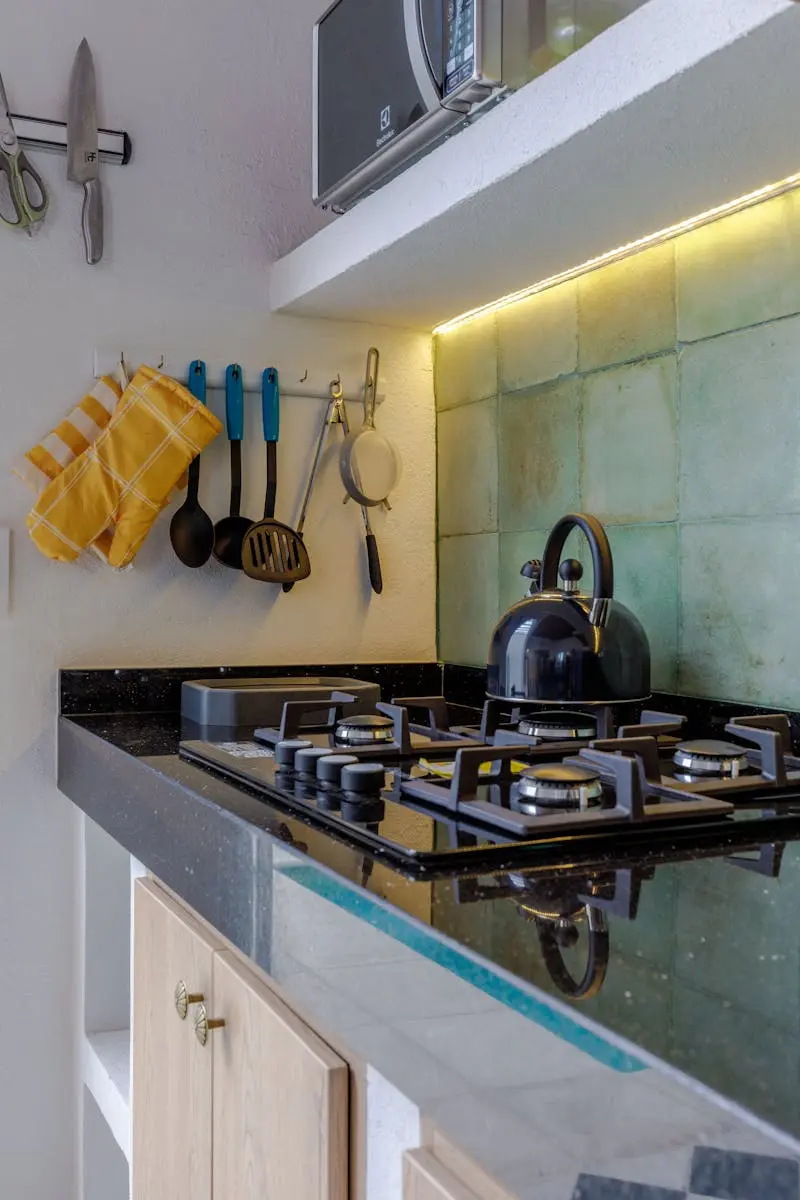
Under-Cabinet Magnets
To clear counters further, shift small items into the air.
Good under-cabinet candidates:
- Magnetic knife strips screwed into the underside of upper cabinets
- Magnetic spice jars on the underside or side of a cabinet
- A thin metal rail with hooks for measuring spoons or small tools
This gives you:
- Empty counter space for prep
- A very efficient Primary Reach zone
- A more “designed” look, especially in small kitchens
If you do this, make sure you keep the lines clean. Don’t hang every tool you own. Curate.
Conclusion & FAQ
Let’s wrap with what I’d actually prioritize for most people and then tackle one of the most common questions.
Budget Breakdown
You don’t need to do everything at once. Here’s how I’d phase it.
High Impact, Low Cost
- Drawer dividers and diagonal organizers (around $20–$40 per drawer)
- Vertical tray dividers for baking sheets and boards
- Under-cabinet magnets for knives or spices
- Simple pantry bins and can rotators
- Door-mounted spice or snack racks
These are ideal if you rent or you’re testing what works before committing to bigger changes.
Investment Upgrades
- Cloud / LeMans blind corner pull-outs (often $300+ per corner)
- Full-extension pull-out shelves inside base cabinets
- Deep drawers with peg systems for plates
- Built-in appliance garage cabinetry
These are worth it if:
- You cook frequently
- You’re planning to stay for several years
- You care about resale value and daily comfort, not just capacity
In my experience, if you can only pick two investments, go for:
- Pull-out shelves in your most used base cabinets
- A proper blind corner solution
Those two alone will change how your kitchen feels to use.
FAQ: How to organize deep cabinets without drawers?
If you have deep cabinets and no drawers, don’t leave them as black holes.
Treat bins as “removable drawers.”
Here’s how:
- Measure the interior width, depth, and height of the cabinet.
- Buy long, clear bins that nearly match that depth.
- Group items by category inside each bin (baking supplies, snacks, extra oils, lunch containers).
- Place the bins front to back, not side by side. You should pull the bin out like a drawer to access the back.
Tips:
- Add a simple label to each bin front so you don’t have to guess.
- Keep heavier bins at the lower, Secondary Zone level.
- Reserve the very top shelves (Tertiary Zone) for very light but bulky items, like extra paper towels or party platters.
You don’t need custom cabinetry to have the best kitchen storage solutions.
You just need a clear idea of your zones, a few smart pull-out or bin systems, and the discipline to keep counters for cooking, not storage.