Renter Friendly Closet Hacks: How To Fake a Custom System Without Losing Your Deposit
If you’ve ever opened a rental closet and felt your stress level rise, you’re not alone.
Harsh overhead bulb, sagging wire rack, one lonely rod, and a floor that turns into a black hole for shoes. Most people assume they’re stuck with it until they move.
You’re not.
With a handful of renter friendly closet hacks, you can make a generic rental closet look surprisingly close to a custom “California Closet” for under $200 – and still walk away with your deposit when you move out.
In this guide, we’ll start with lighting (because you cannot organize what you can’t see), then layer in faux built-ins, simple shelving upgrades, and renter-safe materials. I’ll also walk you through the move-out plan so you’re not panicking with a spackle knife on your last day.
The Concept: Treat Your Closet Like a Tiny Room, Not a Storage Hole
Most rental closets look chaotic because they’ve never been treated like real rooms.
The secret is to think in three layers:
- Light – so you can actually see what you own.
- Structure – shelves, hanging, and faux built-ins that work for you.
- Surface – finishes and details that make it feel intentional, not temporary.
If you start with structure and skip the light, you’ll still feel like you’re rummaging in a basement. If you only buy cute bins and ignore the bones, you’re just decorating clutter.
We’re going to start from the top down and layer everything in a way that is 100% reversible.
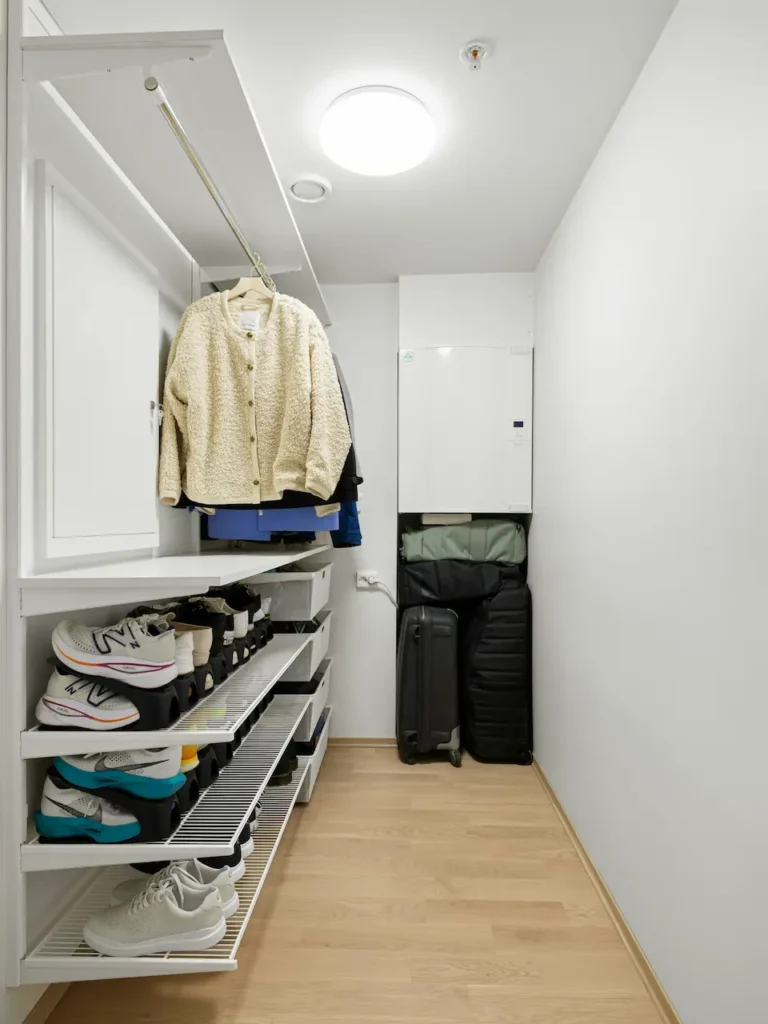
Lighting First: Motion-Sensor LED Strips That Feel Built-In
Before you touch hangers or shelves, fix the light.
A dim or bare-bulb closet makes everything look messier and darker than it is. The easiest renter-friendly upgrade is rechargeable motion-sensor LED lighting – no wiring, no electrician, no drilling.
What To Look For
When you’re shopping, I recommend:
- Rechargeable via USB
No one wants to replace 12 AAA batteries in six months. Rechargeable bars or strips are so much easier long term. - Warm white (around 2700–3000K)
This is key. Cool “blue” light makes clothes and skin look harsh. A warm white feels more like a boutique fitting room. - Adhesive or magnetic mounting
Most strips come with 3M-style tape or magnetic backings that attach to small metal plates. Both are renter-friendly and removable.
Where To Place the Lights
For a basic reach-in closet:
- Run one strip along the underside of the top shelf, near the front edge.
- If your closet is wide, use two shorter strips instead of one long one for even coverage.
- For deep corners, add a small puck light or mini bar on the side wall at shoulder height.
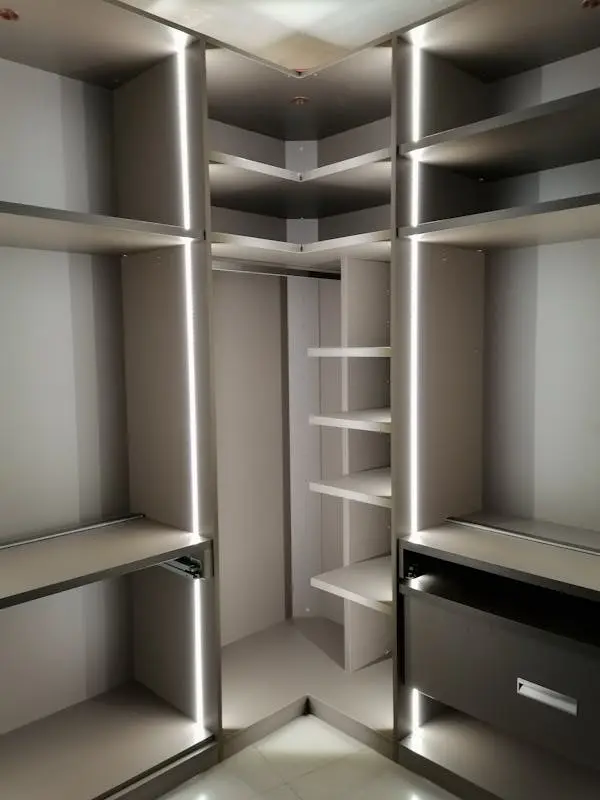
For a walk-in closet:
- One strip along each side of the top shelf.
- A short bar inside darker sections (like corners or behind a return wall).
Once the lighting is right, even temporary wallpaper for closets and simple storage upgrades feel elevated because you’ve created a boutique-style glow.
The “Billy” Fake-Out: How To Use Bookcases as Custom Closet Built-Ins
This is one of my favorite renter friendly closet hacks because the transformation is dramatic but reversible.
Instead of paying for custom built-ins, you use IKEA Billy bookcases (or similar slim bookcases) inside your walk-in closet to create the look of a fitted system.
When This Works Best
- In walk-in closets with blank wall space.
- In small rooms where you don’t have space for a dresser and want folded storage inside the closet.
Standard Billy bookcases are shallow (about 28 cm / 11″) and tall, which is perfect for folded clothes, baskets, and shoes.
Step-by-Step: The “Billy” Closet Fake-Out
- Measure the wall height and width
Make sure the assembled bookcase fits with a little breathing room on the sides and top. - Assemble the bookcases outside the closet
Always build them in the room, then slide them in. It’s easier than fighting the narrow doorway. - Position inside the closet
Place them against the back wall or side wall, depending on your closet shape. Leave enough clearance for hangers to move freely if rods are in front. - Stabilize without drilling
This is the renter-critical part:- Use removable museum putty under the front feet to stop shifting.
- If you need extra stability, use Command-style picture hanging strips between the top of the bookcase and the wall. They hold surprisingly well but release cleanly.
- Style like built-ins
- Use matching baskets or boxes on the top shelves for seasonal items.
- Fold jeans, sweaters, and t-shirts on middle shelves at eye level.
- Reserve the lowest shelves for shoes or deeper bins.
Suddenly, your “closet” behaves more like a mini dressing room, and it looks like you had a custom organizer installed.
The Hardware Swap: Upgrading Wire Racks Without Breaking the Rules
The standard white wire shelf/rod combo is functional, but it looks cheap and everything falls through the gaps.
In a rental, you usually can’t rip them out. But you can absolutely cover and complement them.
Think of it as giving the closet a wood “top layer” that’s completely removable.
Option 1: Wood Shelf Toppers
If you already have wire shelves, you can:
- Cut pre-finished wood boards (or have the store cut them) to match the length and depth of your wire shelf.
- Simply lay them on top of the wire, using small non-slip pads at the corners if needed.
This:
- Stops small items falling through.
- Makes folded stacks stand properly.
- Immediately looks more like a built-in system.
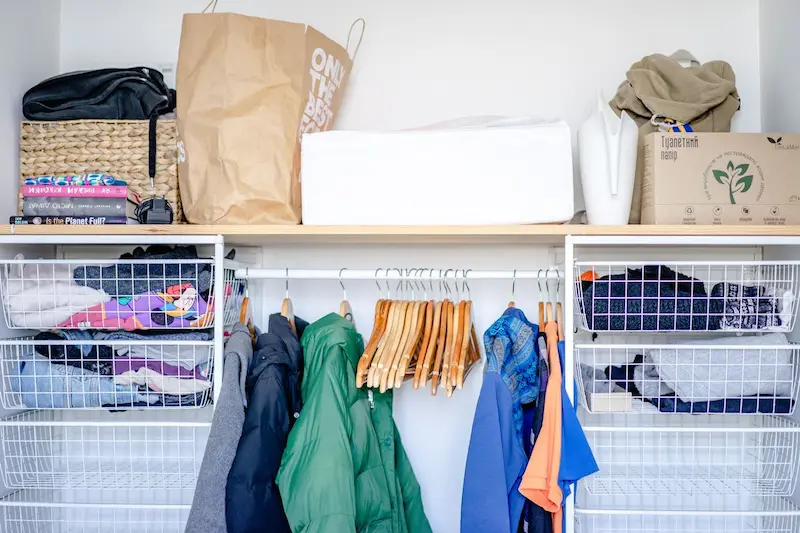
Option 2: Removable Hanging Shelves
If your closet has only one high rod and you need more vertical storage:
- Add clip-on hanging shelves that hook over the existing rod.
- Choose fabric or wood-look versions that align with your aesthetic (light linen for airy, darker for moody).
These are perfect removable shelving for apartments because they require zero drilling and collapse flat when you move.
Simple Comparison
You could present it to yourself like this:
| Feature | Standard Wire Shelf | Wire + Wood Toppers / Hanging Shelves |
|---|---|---|
| Looks “finished” | No | Yes |
| Small items fall through | Yes | No |
| Renter-safe | Yes | Yes |
| Cost | Already there | Low to moderate |
From a design point of view, I almost always recommend some kind of wood or textile layer. It softens the harsh lines of the wire and makes your closet feel like part of the room, not a storage unit.
Surface Magic: Temporary Wallpaper for Closets
This is optional, but if you want that “wow” moment every time you slide the door open, temporary wallpaper for closets is your best friend.
It’s also one of the few places where a bold pattern won’t overwhelm your home, because the door can close.
Where To Use It
- On the back wall behind your hanging clothes or Billy bookcase.
- On side walls in a walk-in closet to frame a mirror or shelving.
I prefer:
- Soft, subtle textures (linen-look, grasscloth effect) if you want a calm, boutique vibe.
- Small to medium scale prints if you want personality but not chaos.
Peel-and-stick wallpaper is designed to be removed in one piece. Just make sure the walls are clean and dust-free before you apply.
Materials List: Renter-Safe Tools That Do the Heavy Lifting
Here’s a simple checklist of what I recommend for these renter friendly closet hacks.
You don’t need special brands; focus on these categories:
Damage-Free & Tension-Based Essentials
- Command-style picture hanging strips
- For stabilizing bookcases against walls.
- For mounting lightweight hooks or small artwork inside the closet.
- Museum putty or furniture grippers
- To stop bookcases or freestanding units from shifting.
- Peel-and-stick temporary wallpaper
- Look for “removable” or “renter-friendly” in the description.
- Tension rods
- For extra hanging space (scarves, handbags).
- For adding small curtains to hide visual clutter on open shelves.
- Clip-on hanging shelves and fabric organizers
- These hang from your existing rod and don’t mark walls.
- Rechargeable motion-sensor LED strips
- Mounted with included adhesives or magnetic plates.
When you’re shopping, search terms like “removable shelving for apartments,” “peel and stick closet wallpaper,” and “rechargeable motion sensor closet light” will usually get you to the right category.
The Move-Out Plan: How To Undo Everything in 20 Minutes
A good rental upgrade should come apart almost as easily as it went in.
Here’s how I’d schedule your move-out day closet reset.
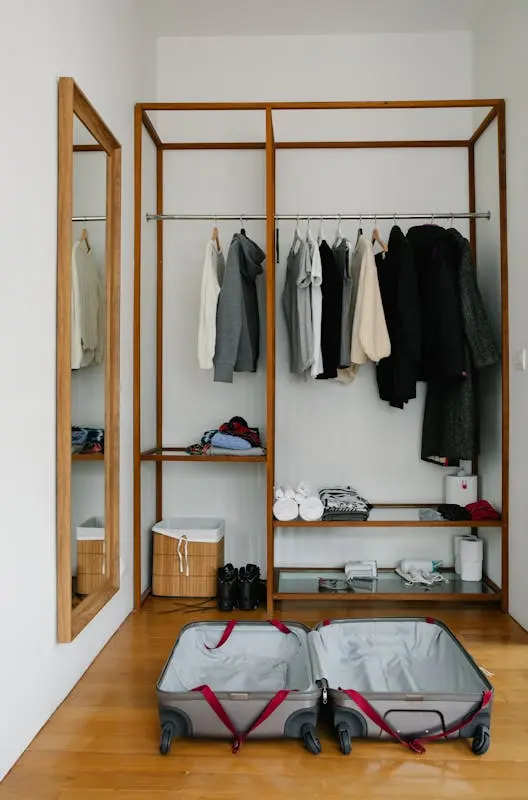
1. Empty and Sort
- Remove all clothes and baskets first.
- As you empty, quickly decide what’s actually going with you – moving is the perfect time to edit.
2. Take Down Lighting and Wallpaper
- Turn off or disconnect your LED lights and gently peel off adhesive pads or magnetic plates.
- For temporary wallpaper, pull slowly at a low angle; good-quality peel-and-stick should come off without ripping the paint.
If you’re worried, peel one small corner a few weeks before you move to test the wall.
3. Remove Bookcases and Extras
- Pop off any Command-style strips by pulling the tab straight down, not out.
- Slide the Billy bookcases out of the closet; any museum putty should peel off easily from both furniture and floor.
4. Restore the Original Shelving
- Take off wood toppers or fabric organizers and wipe down the existing wire shelves.
- Check for any scuffs and gently clean them with a soft cloth.
If you’ve stuck to removable products, you shouldn’t need filler or paint.
5. Final Check
Stand in the doorway and ask yourself: “If I were the landlord, would I notice anything changed?”
If the answer is no, you’ve done it right.
Final Thoughts
Renter-friendly design is really about respecting the shell and elevating what sits inside it.
With better lighting, a smart use of freestanding pieces, and a few carefully chosen products like temporary wallpaper for closets and removable shelving, you can completely change your daily experience of getting dressed – without making a single permanent alteration.
If you want, tell me the rough size and shape of your closet (reach-in vs walk-in, sliding doors vs hinged) and your budget, and I can map out a specific closet plan with a simple shopping checklist tailored to your space.