Wardrobe Design for Bedroom: How to Get Every Centimeter Working for You
A good wardrobe design for bedroom spaces is the difference between “clothes everywhere” and a room that actually feels restful. Most people start with door style or color. In practice, the smartest starting point is shape, internal layout, and how the doors move in your specific room.
I’ll walk you through the decision sequence I use with clients: first the shape, then the doors, then the inside, and only then the pretty finishes and lighting.
H2: Choosing the Right Shape for Your Room
Think of the wardrobe as architecture, not furniture. Its shape needs to follow your room’s geometry and circulation.
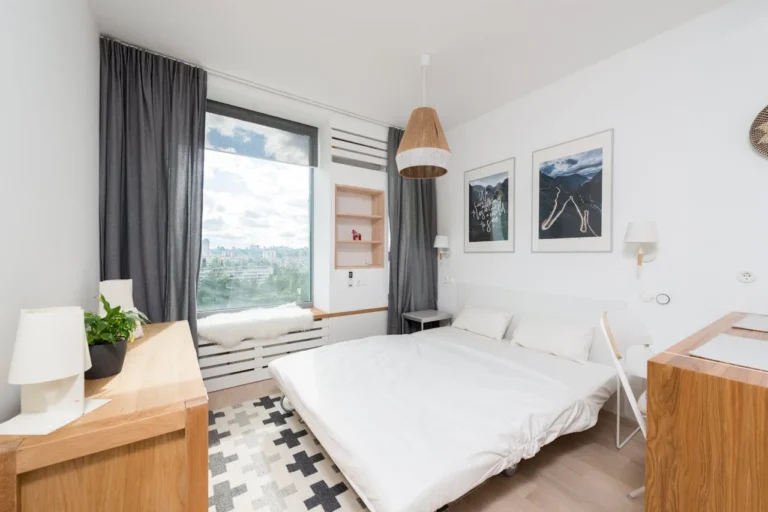
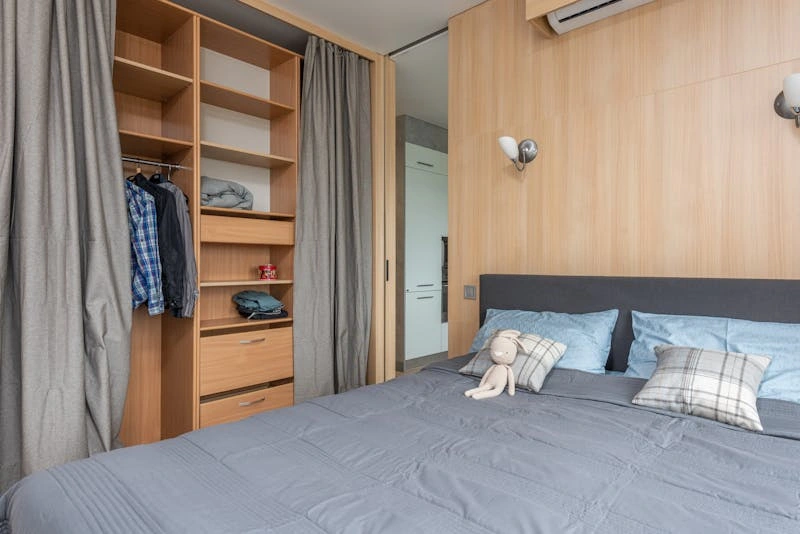
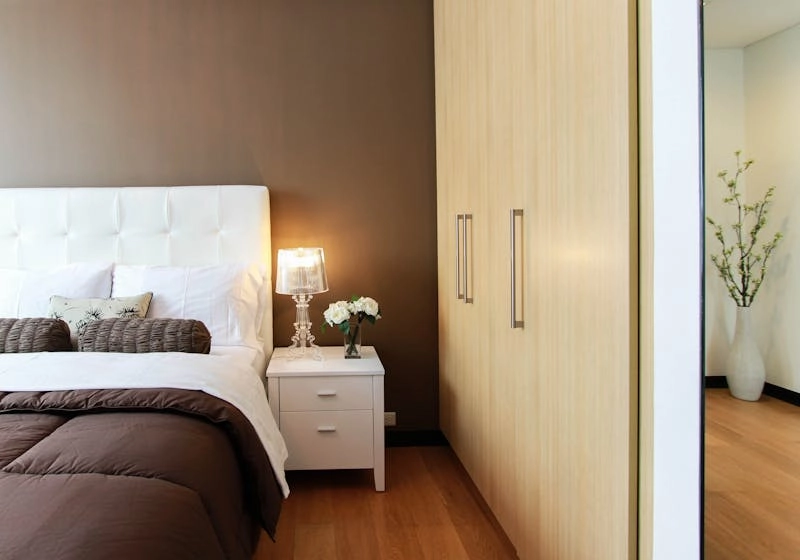
1. The “Inline” (Wall-to-Wall)
Best for: simple, square or rectangular bedrooms with one clear free wall.
- Run the wardrobe from wall to wall on a single side. This avoids awkward gaps where dust collects and random boxes end up living.
- Visually, a full-width wardrobe reads like a calm, continuous wall instead of “three separate pieces,” which makes the room feel bigger.
- I prefer inline wardrobes behind the door or on the wall opposite the bed, so you don’t wake up looking at hanging shirts.
- If ceiling height allows, take it all the way up. The top zone becomes deep storage for suitcases, bedding, and off-season clothes.
2. The “L-Shape” (Corner)
Best for: rooms with two short walls free or awkward corners that feel wasted.
- An L-shaped wardrobe wraps around the corner, turning what is usually dead space into long-hang or shelving.
- In my experience, the best use of the shorter leg of the L is for shelves or drawers, and the longer leg for hanging space. That keeps it feeling balanced.
- If one wall has a window, keep the wardrobe low on that side (chest height) and full height on the other side. This still gives you the L storage without blocking light.
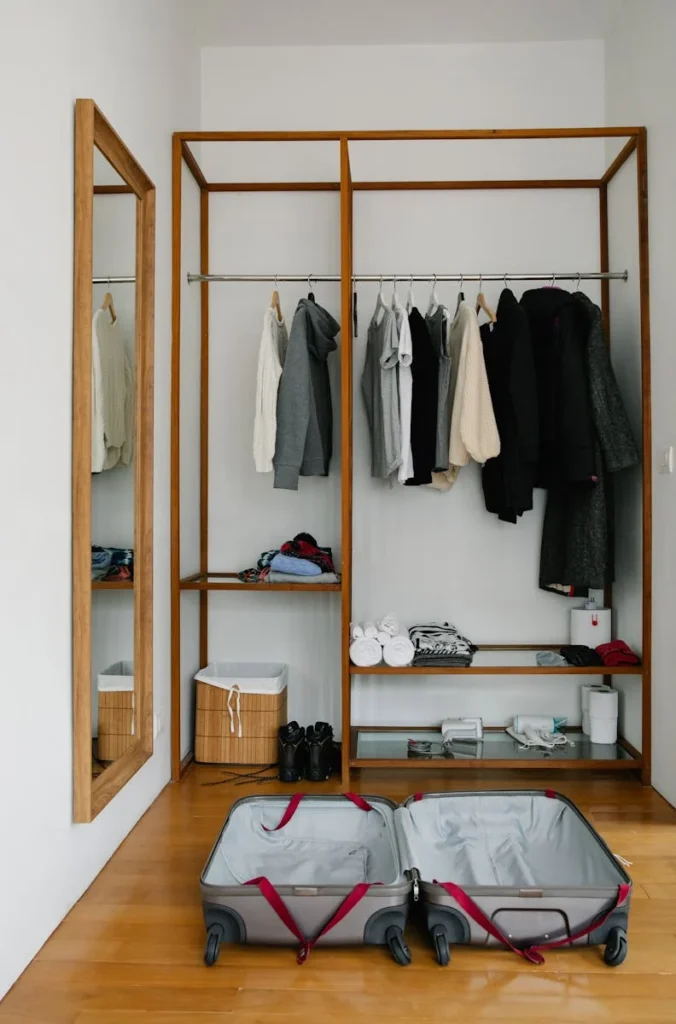
3. The “Galley” Walk-Through
This is the fake walk-in closet that’s trending for 2026: you create a mini dressing corridor behind the bed.
Best for: medium-sized rooms where you don’t have space for a separate dressing room, but you can pull the bed forward.
- Place the bed slightly away from the wall (around 80–100 cm / 31–39 in, if you have the depth), then build wardrobes behind it, left and right, creating a “galley” walkway.
- The headboard becomes a low partition, and behind it you have a narrow corridor with wardrobes on both sides.
- I recommend using sliding or coplanar doors here to keep the corridor usable. Hinged doors will clash in the middle unless the space is very generous.
4. The “Bridge”
Best for: small bedrooms where you’re short on wall space but need serious storage.
- A “bridge” wardrobe frames the bed: tall units on either side, and cabinets over the headboard.
- This is one of my favorite small-room hacks when designed carefully, because it makes the bed feel built-in and intentional.
- Keep the bridge depth modest above the bed so it doesn’t feel like it’s “leaning” over you. I like a slightly shallower depth above the headboard than on the side towers to keep it visually lighter.
- Use the overhead cabinets for rarely used items: seasonal bedding, luggage, or guest blankets.
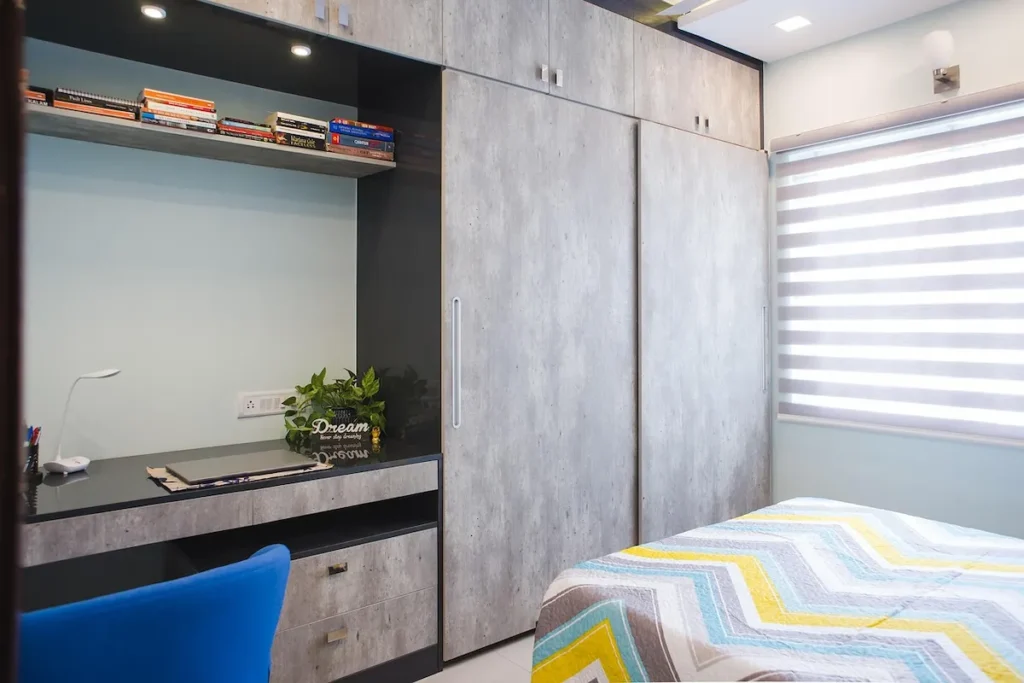
H2: Sliding vs. Hinged: The 2026 Verdict
Door type is where style and practicality either work together or fight you every morning.
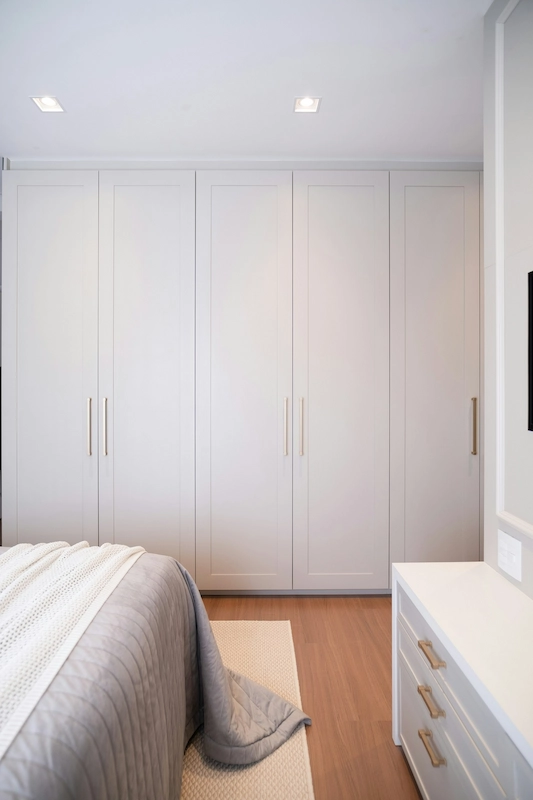
Hinged Doors
- Pros:
- You can open everything at once and see the full wardrobe interior.
- Easier to ventilate: doors can be left ajar to air out clothes.
- Hardware choices (handles, knobs) add character and can echo your bedroom style.
- Cons:
- Need clear swing space; in tight bedrooms they can clash with the bed or bedside tables.
- Not ideal where you have circulation right in front of the wardrobe.
My take: If you have the space, hinged doors are usually more pleasant to live with and better for organization.
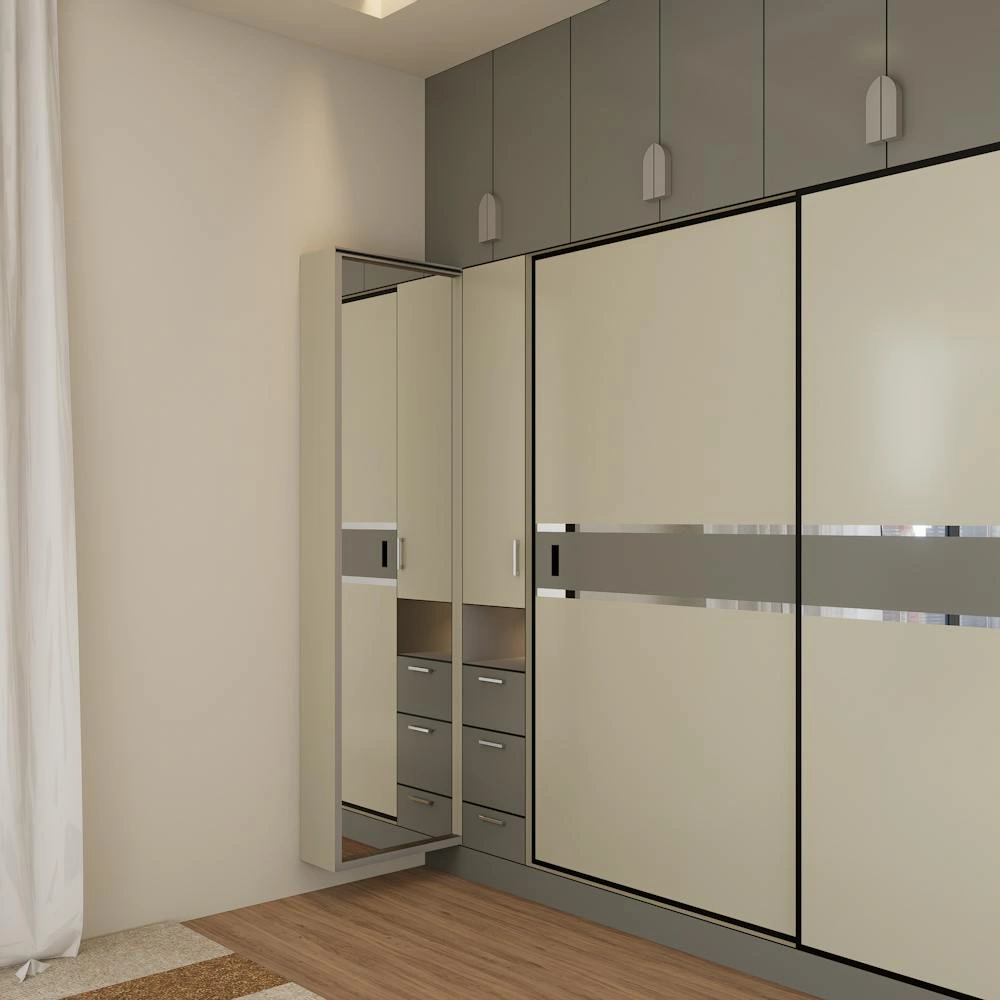
Sliding Doors
- Pros:
- Perfect for narrow rooms or spots right next to the bed where a swinging door would hit something.
- Cleaner, more modern look with large uninterrupted panels (great for mirrors or tinted glass).
- Cons:
- You only see half the wardrobe at any one time. This sounds minor, but it affects how you plan the interior.
- Tracks need occasional cleaning; if installed badly, they can feel clunky.
My take: I like sliding doors on long inline wardrobes, especially in small bedrooms. Just plan your sections so each sliding panel covers a logical “zone” (e.g., all shirts behind one panel, all dresses behind another).
Bi-fold Doors
- Pros:
- Fold away to the side, giving you much better access than sliding doors while still using less swing space than full-width hinged.
- Good compromise for wardrobes behind doors or close to bed corners.
- Cons:
- More hardware means more potential maintenance.
- Not as visually clean as full-height hinged or sliding panels.
Coplanar Sliding (The Luxury Option)
- Coplanar systems let the doors sit perfectly flush when closed; when you slide them, they move forward then across.
- The result is a very sleek, high-end wardrobe front with minimal shadow gaps.
- In my experience, coplanar doors are best when you want the wardrobe to feel like a single, calm wall in a modern bedroom. Don’t waste this system on busy panel designs; let it stay simple.
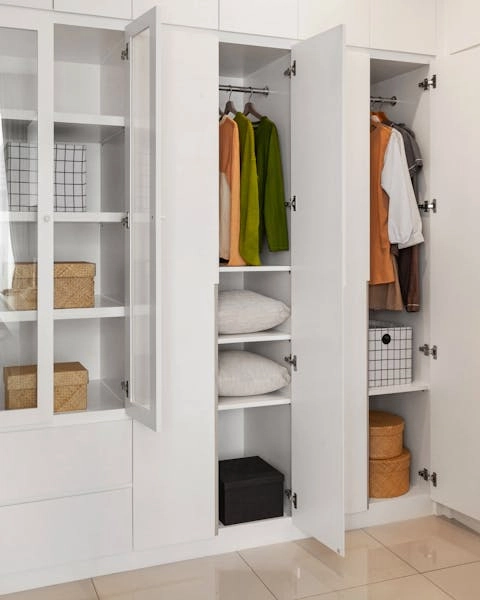
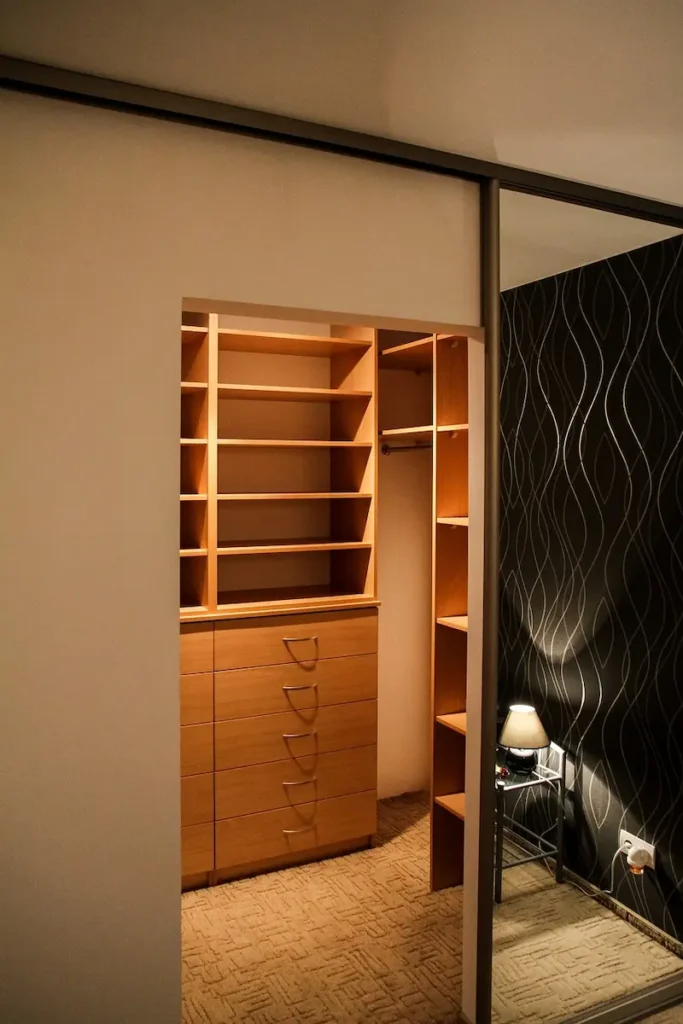
H2: Designing the Inside (The Ergonomic Zones)
Most people obsess over door color and forget that internal layout is what makes a wardrobe feel “expensive” and effortless.
The “Active Zone” (Eye Level)
This is the space roughly from shoulder to hip height. It’s where your hand naturally goes.
- Reserve this zone for daily wear: shirts, trousers, abayas, blouses, work clothes.
- Use double hanging (short hang above, short hang below) to maximise this height.
- I recommend soft-close drawers in this band for underwear, t-shirts, and loungewear. You open them every day; make them ergonomic.
The “Passive Zone” (Top and Bottom)
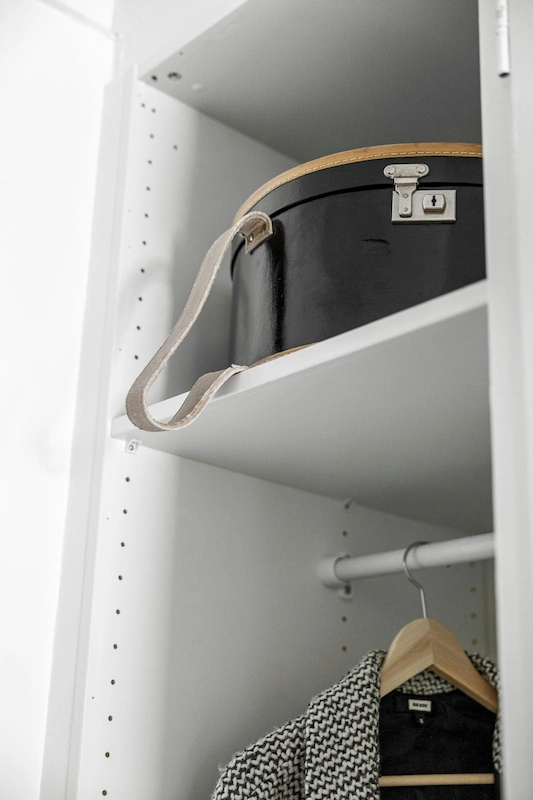
Top and bottom areas are harder to reach, so they should hold low-frequency items.
- Top shelves: store suitcases, spare bedding, seasonal clothes in boxes, or guest linens. Use labeled opaque boxes so it still looks calm when you open the doors.
- Bottom zone: great for shoes, heavy folded items, or pull-out baskets.
- If you add a plinth under the wardrobe, make sure it’s still high enough to allow a shallow drawer or shoe pull-out at the base. That space is too valuable to waste.
Long Hang vs Short Hang
You need to make a decision based on your actual wardrobe, not an “average person.”
- Long hang: dresses, long coats, thawbs, robes. Usually one full-height section is enough for most bedrooms.
- Short hang: shirts, trousers folded over hangers, skirts. Two short-hang sections side by side will hold far more than a single long-hang section.
- I often divide wardrobes roughly: 1 part long hang, 2–3 parts short hang and shelves/drawers, unless the client has a very dress-heavy wardrobe.
The Drawer Ratio
Drawers are where visual calm happens.
- Open shelves look tidy for about two weeks. After that, they start to show every folded edge.
- Drawers let you hide chaos, especially for t-shirts, gym wear, and small items.
- As a rule of thumb, I like at least one full stack of drawers (3–4 drawers) per adult. Two stacks is ideal if you can spare the width.
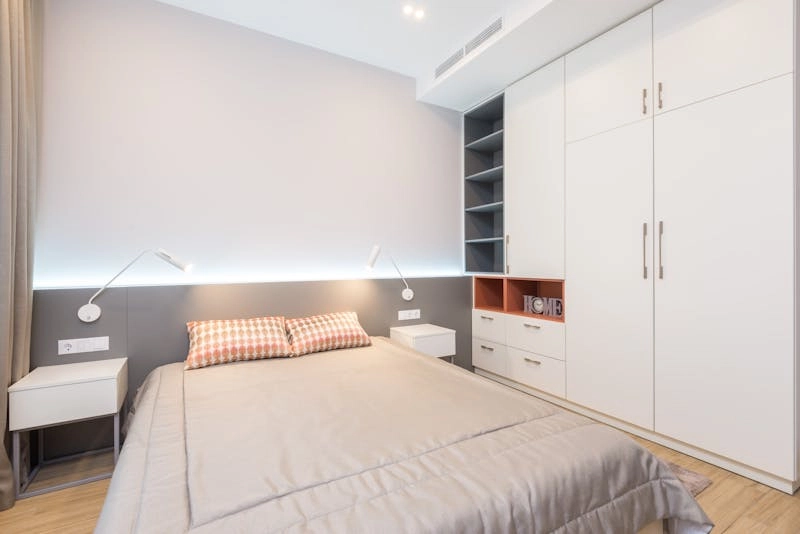
H2: 2026 Wardrobe Finishes
Now we move to the part everyone loves: how it looks. The finish should match your bedroom style and your lifestyle.
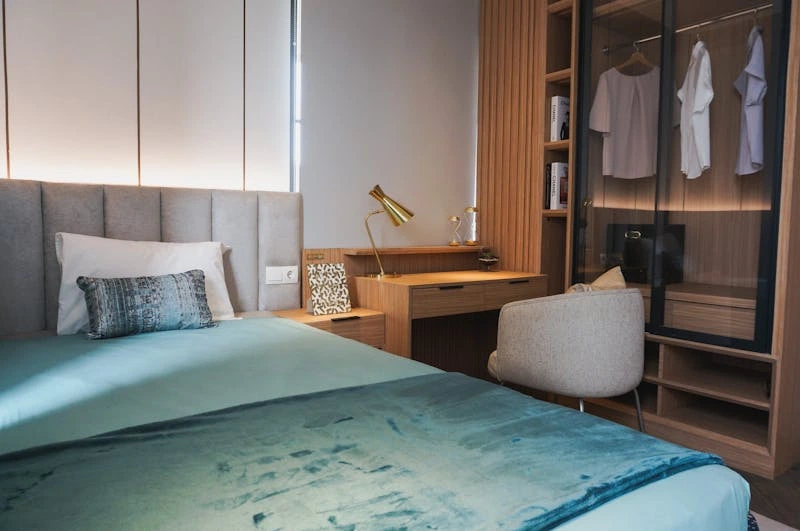
Tinted Glass (Grey / Bronze)
- Tinted glass doors give you the “boutique” wardrobe look: you see a soft outline of clothes but not every detail.
- They gently force you to keep things neater, because messy shelves are still slightly visible.
- I recommend pairing tinted glass with integrated lighting so hanging clothes glow softly instead of disappearing.
Fluted Wood or Laminate
- Fluted or ribbed fronts break up large surfaces and add texture without adding color or pattern.
- They work especially well in modern, Japandi, or organic bedroom schemes where everything is calm but tactile.
- If you choose strong texture on the doors, keep handles minimal so the wardrobe doesn’t feel busy.
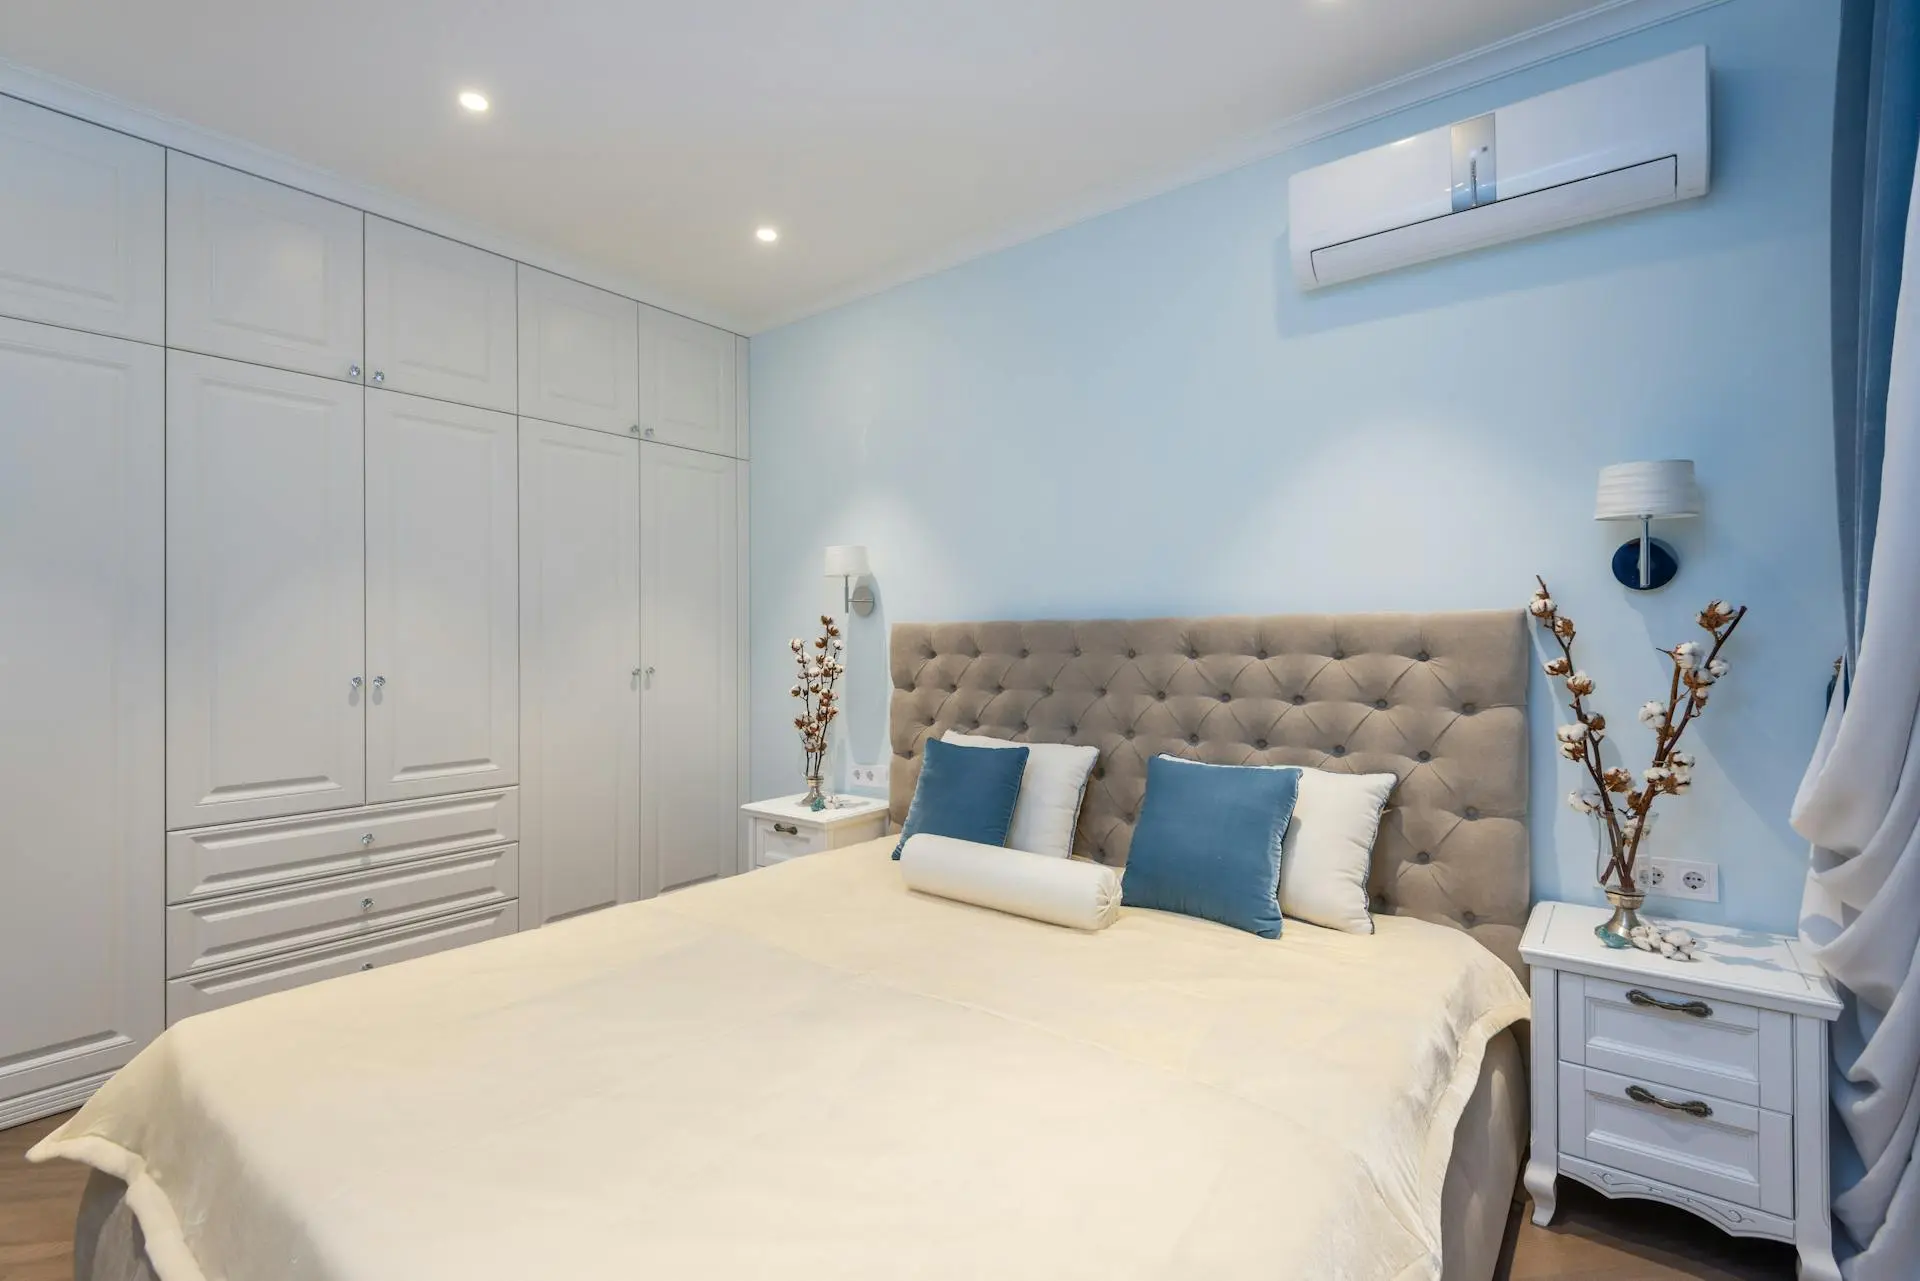
Mirrored Doors
- For small bedrooms, mirrored wardrobe doors are still the most efficient way to double the sense of space and get a full-length mirror without extra floor footprint.
- To keep them from feeling dated, consider:
- Framing the mirror panels with slim wood or metal rails.
- Combining mirrors only on the central doors, with solid panels on the sides.
Rattan / Cane Inserts
- Cane or rattan fronts give you breathable doors, which helps reduce musty smells and is kind to natural fibers.
- They’re a great way to add warmth and texture to a very plain wardrobe design for bedroom spaces.
- I prefer them on hinged doors rather than sliding (less risk of damage and easier to re-tighten or repair if needed).
H2: Don’t Forget the Lights
Good wardrobe lighting is one of those upgrades that instantly feels “hotel level” and you never regret.
Vertical LED Channels
- Vertical LED strips running down the sides of each section light clothes evenly from top to bottom.
- Top-only puck lights create dramatic light but also deep shadows; vertical channels are far more practical when choosing colours in the morning.
- Choose a warm to neutral tone (around 3000K) so clothes look flattering and true to colour.
Sensor Switches
- Motion or door sensors that turn on when you open the wardrobe save you from fumbling for switches with full hands.
- They also protect the LEDs from being left on all day, which extends their lifespan.
- In my experience, sensor-based wardrobe lighting is one of the most satisfying “small luxuries” per dollar you can add.
Ventilation and Dehumidifiers
Especially in humid climates or for wardrobes on exterior walls, a little attention to air movement goes a long way.
- Leave a small gap at the top or bottom of the doors to allow airflow, or integrate discreet vents.
- Consider a tiny plug-in dehumidifier or moisture-absorbing blocks for sections storing leather goods, special occasion outfits, or documents.
- This is particularly important in tight, floor-to-ceiling units where air circulation is naturally limited.
If you build your wardrobe design for bedroom spaces around this sequence—shape → doors → internal zones → finishes → lighting—you end up with storage that feels custom to your habits, not just a big box along the wall.
If you want, next we can sketch a quick layout based on your actual room dimensions and how many people are sharing the wardrobe.