Vanity Ideas Bedroom: Lighting, Layouts and Storage That Actually Work
Most bedroom vanities look good in photos and terrible in real life.
Too dark to do your makeup properly, no storage, cables everywhere.
Let’s fix that.
In this guide, I’ll walk you through vanity ideas for a bedroom that actually respect skin tones, small spaces and real-life routines. We start with light (always), then layout, then hidden organization, then style.
H2: The Lighting Rules (Stop Doing Your Makeup in the Dark)
If you remember one thing from this entire guide, make it this: a vanity is a light source first, a cute corner second.
The CRI Factor: Seeing Your Real Skin Tone
CRI (Color Rendering Index) sounds technical, but it is simply:
“Does this light show colors accurately or not?”
- For a bedroom vanity, look for CRI 90+ on the bulb or product page.
- Under low CRI light, foundation looks like it matches indoors and turns orange or grey outside.
- In my experience, people blame the makeup brand when the real issue is the bulb over their mirror.
If you cannot find CRI info, that is usually a red flag. I’d rather you buy a cheaper vanity and better bulbs than the other way around.
Kelvin Temperature: The Daylight Sweet Spot
For a makeup vanity lighting guide in 2026, the rule is simple:
- Aim for 4000K–5000K (neutral to cool daylight) around your face.
- Below 3000K (warm white) your skin looks softer, but you cannot see detail. Great for ambience, terrible for blending.
- Very cool 6000K+ light starts to feel clinical and harsh.
I prefer around 4000K for bedroom vanities: it is bright enough to reveal texture, but not so icy that your room feels like a clinic.
Positioning: Face-Forward, Not Overhead
Overhead ceiling lights cast shadows into eye sockets and under cheekbones. That is why your concealer looks strange in photos.
For a bedroom vanity:
- Best option: Lights at face level on both sides of the mirror. Think vertical sconces or integrated side strips.
- Second best: A Hollywood-style mirror with bulbs all around the frame.
- Worst: A single pendant directly above the mirror. It makes even perfect makeup look tired.
Practical rule: when you sit down, the brightest light source should be roughly in line with your eyes, not the top of your head.
H2: Vanity Solutions for Every Bedroom Size
You do not need a big room to have a proper vanity. You just need the right format for your layout.
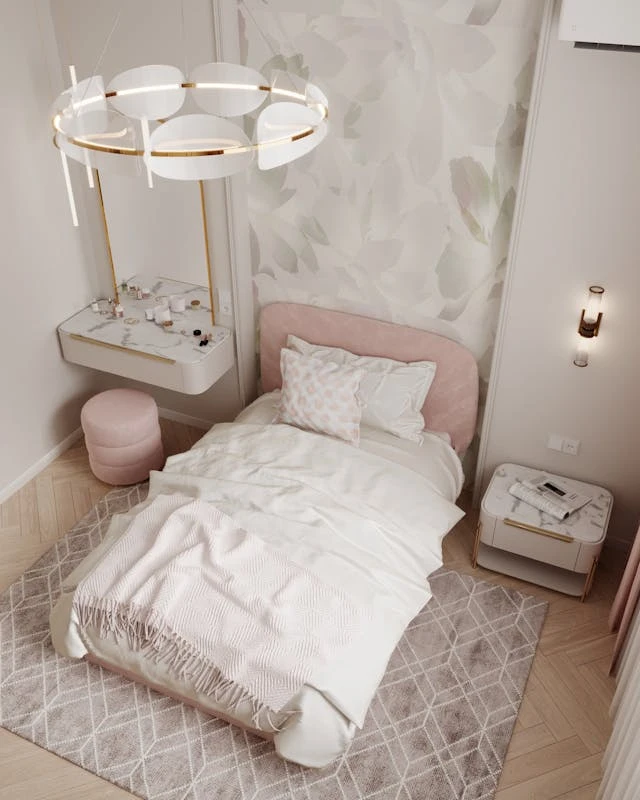
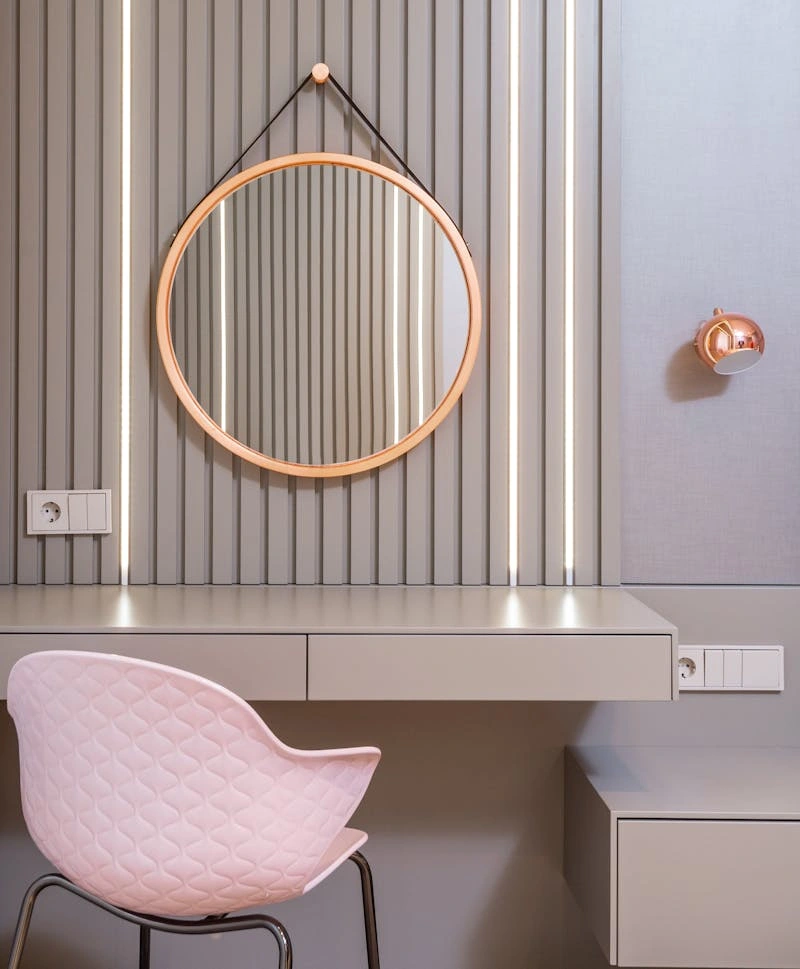
1. The Floating Shelf Vanity (Small Room Hero)
A floating vanity for a small bedroom is the most space-efficient option.
- Use a sturdy wall-mounted shelf or shallow wall-hung drawer unit.
- Depth around 30–40 cm is usually enough for makeup and a mirror without blocking circulation.
- Keep the underside free so you can tuck a stool away completely.
I like this for narrow rooms where a normal desk would make the space feel cramped. Bonus: cleaning the floor is easier with nothing on it.
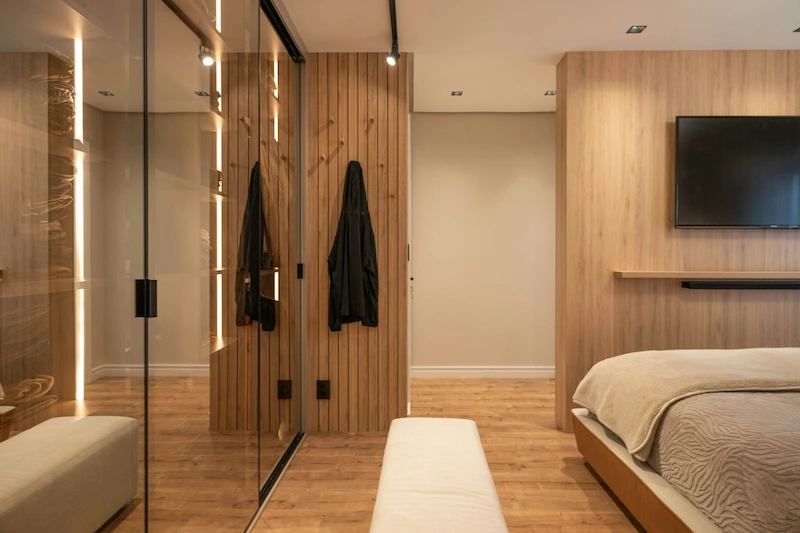
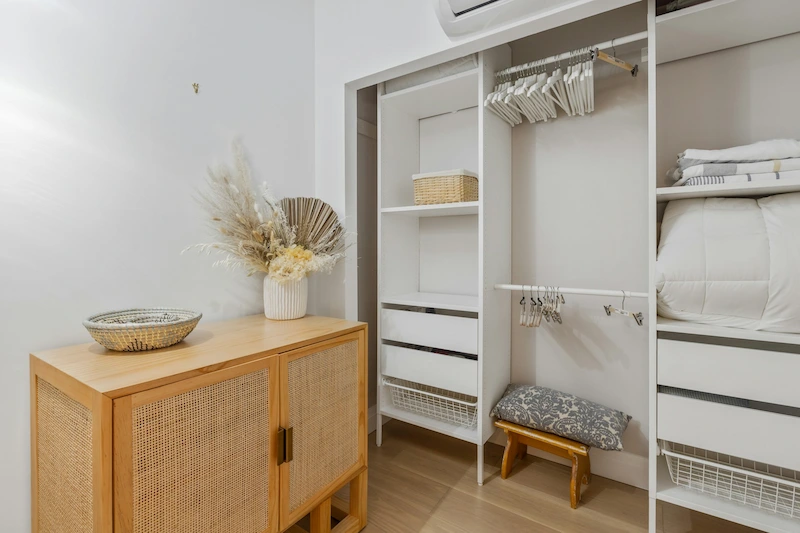
2. The Closet Vanity (The “Clodioffice” Trend)
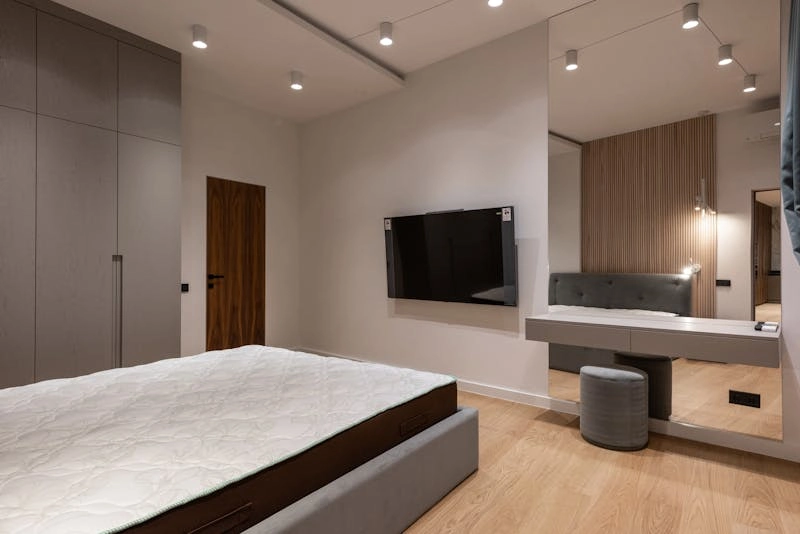
If your bedroom already feels full, look inside the wardrobe walls instead.
- Remove one section of hanging rail in a reach-in closet.
- Install a shallow tabletop with a mirror and LED strip inside.
- Use a chair or backless stool that can slide under when the doors close.
This “closet vanity” keeps visual clutter out of the main bedroom and works beautifully for minimal, hotel-like rooms.
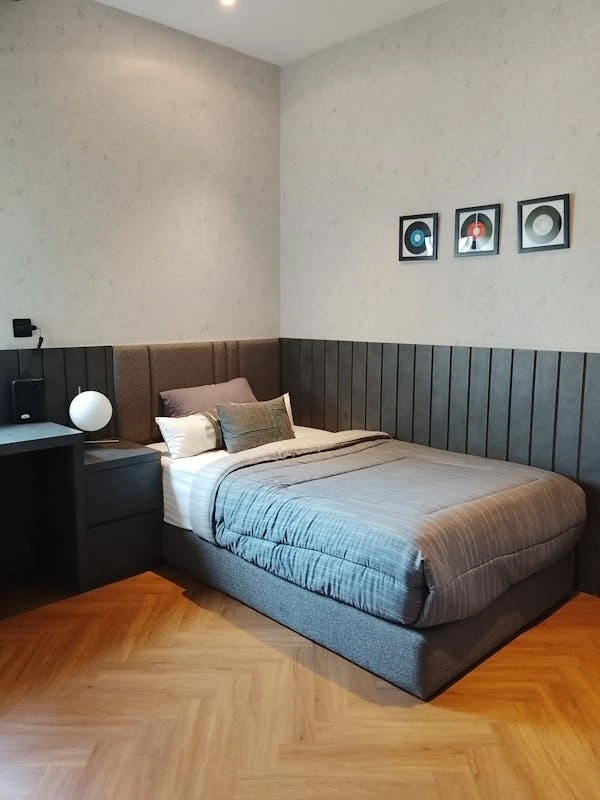
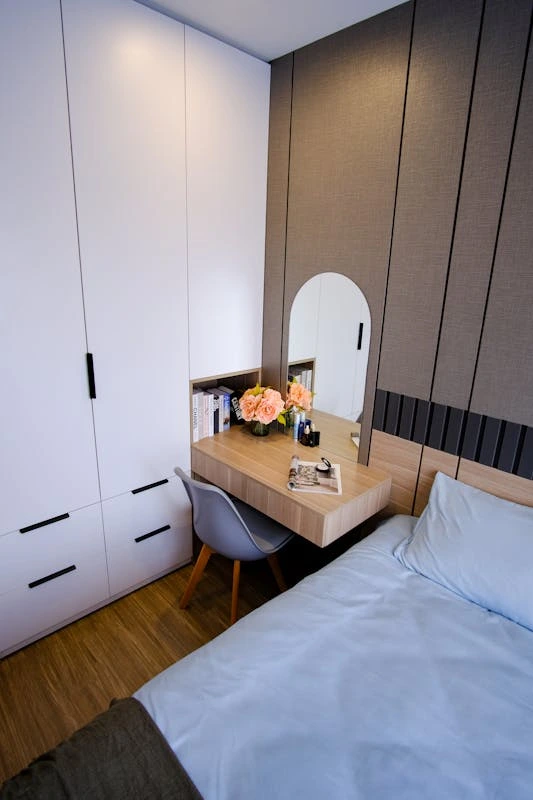
3. The Nightstand Hybrid (One Piece, Two Jobs)
In smaller bedrooms, every piece of furniture should pay “double rent”.
- Extend one side of your headboard with a longer, continuous top.
- The end section functions as a nightstand–vanity hybrid.
- Add a wall-mounted mirror above that section instead of art.
I recommend this if you like to get ready while seated close to natural light near the bed, and you do not want a separate dressing table eating floor space.
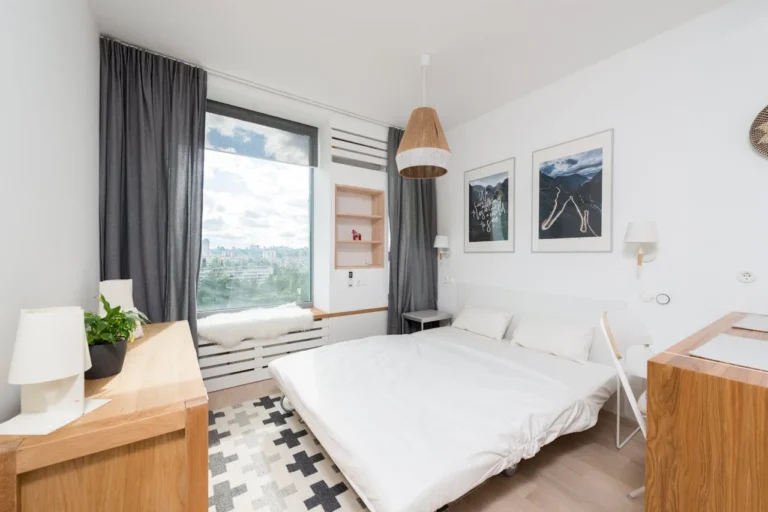
4. The Window Seat Vanity (Best Light, Zero Guesswork)
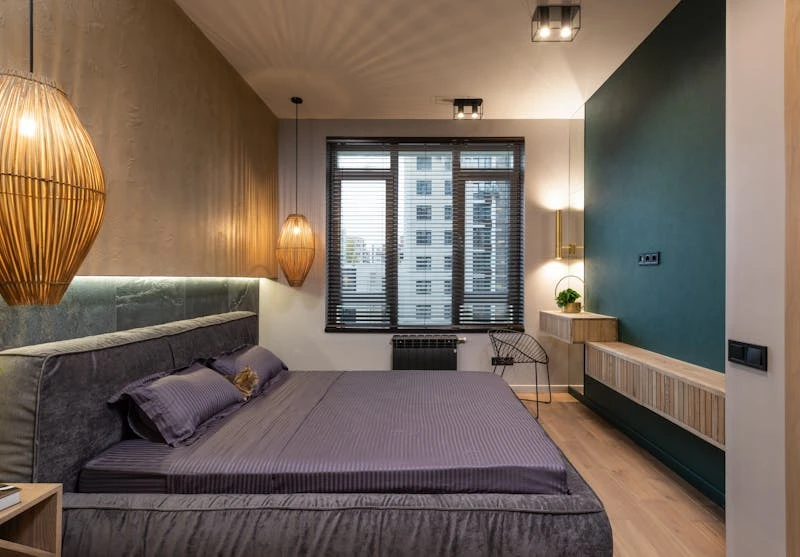
The most flattering light is still daylight from a window in front of you.
- Place a narrow table or slab directly across a window.
- Choose a mirror on a stand, so you can adjust the angle as the sun moves.
- Use slim drawers or small under-desk units for storage, so you do not block the radiator or window opening.
If your view is decent and privacy allows it, this setup gives you perfect makeup lighting during the day with minimal artificial correction.
H2: How to Organize (Without the Clutter)
The difference between a luxury-looking vanity and a messy one is almost never the table. It is the organization you cannot see.
The Acrylic System: Drawer Interiors, Not Countertops
Clear acrylic organizers are useful, but not when they live on top of the vanity.
- Use shallow drawer inserts with sections for lip products, pencils and palettes.
- Group by use, not brand: “Everyday face”, “Event makeup”, “Skincare”, “Hair”.
- Label the inside lip of each drawer with a discreet label so you know what lives where.
In my experience, a single well-organized shallow drawer beats three deep drawers where products disappear for months.
Integrating a Skincare Fridge (The 2026 Reality Check)
Skincare fridges are everywhere right now, but they easily tip a vanity from chic to cluttered.
If you want one:
- Choose a compact, quiet model and hide it inside a cabinet or under-shelf niche.
- Make sure there is ventilation at the back and a socket inside or behind the unit.
- Limit what goes into it: a few eye patches and targeted serums, not everything you own.
I recommend this mainly if you live in a hot climate or use products that genuinely benefit from refrigeration. Otherwise, invest in better storage and lighting instead.
Hot Tools Management: Cables Under Control
Nothing ruins a clean vanity faster than curling irons and straighteners lying out with cords everywhere.
- Use a heat-safe caddy or pull-out with metal liners to store tools while warm.
- Mount a multi-outlet strip inside a side cabinet so plugs live inside, not on the wall.
- Keep only one tool plugged in at a time; the rest stay coiled and secured.
If you are designing built-in joinery, ask for one shallow “salon drawer” with heat-resistant lining and cable grommets. You will use it daily.
H2: Vanity Trends for 2026
Now that the function is solid, you can layer on style without ruining usability.
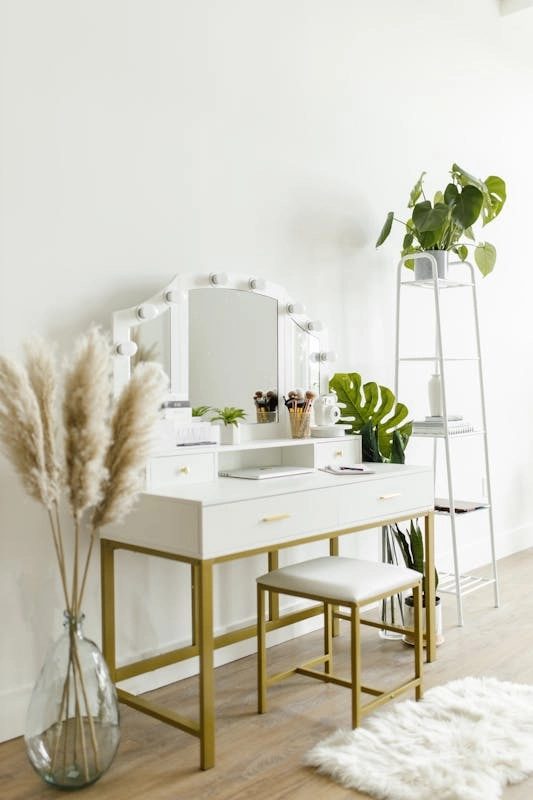
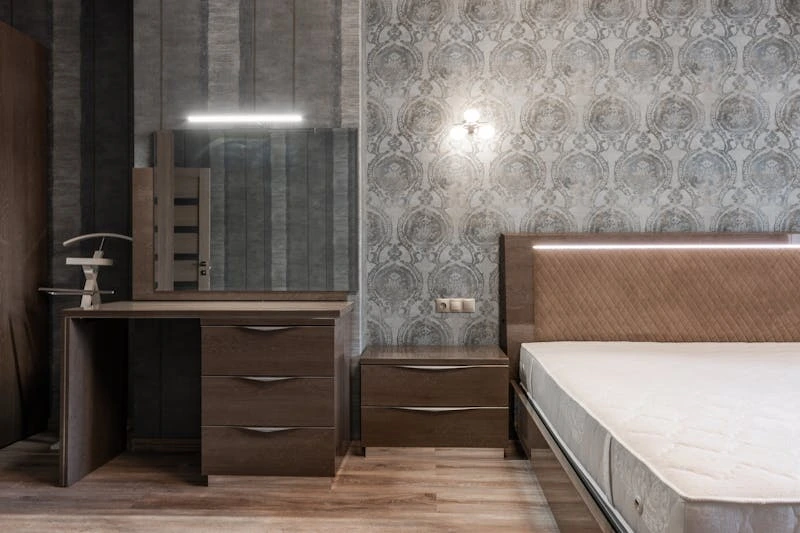
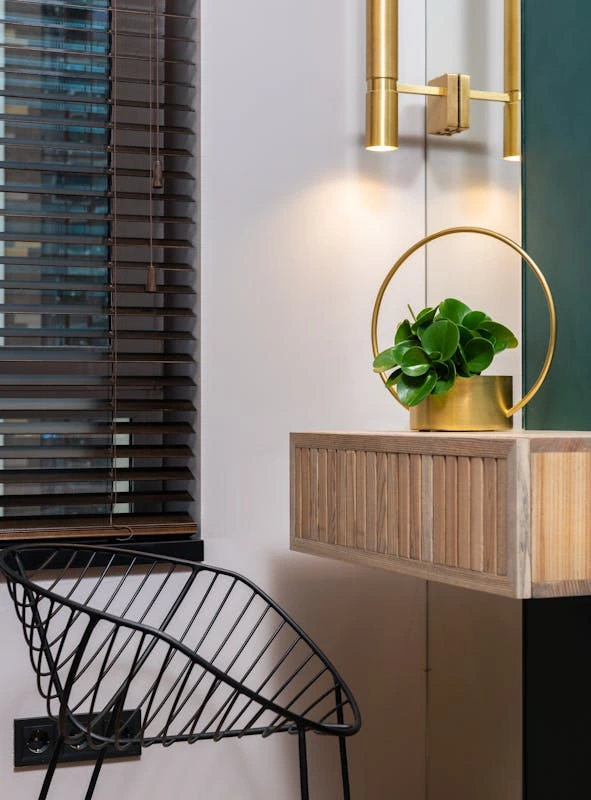
Fluted Wood: Texture Without Visual Noise
Fluted or ribbed fronts are still the showpiece finish for 2026.
- Vertical fluting makes low vanities feel taller and more architectural.
- It hides hairline scratches better than flat, high-gloss surfaces.
- I prefer fluted only on the base cabinet, paired with a very simple mirror, so the space does not feel busy.
If your bedroom is small, keep the fluted part in a light wood tone to avoid heaviness.
Stone Tops: Practical Luxury
Stone-look tops are not just about aesthetics; they are about stain resistance.
- Real or engineered stone handles skincare spills, oils, and makeup much better than painted MDF.
- Matte or honed finishes show fewer fingerprints than polished ones.
- If stone is out of budget, a high-quality laminate in a stone pattern still works better than soft, painted timber.
Do not place hot tools directly on stone either; use a small heat mat to protect both surface and tool.
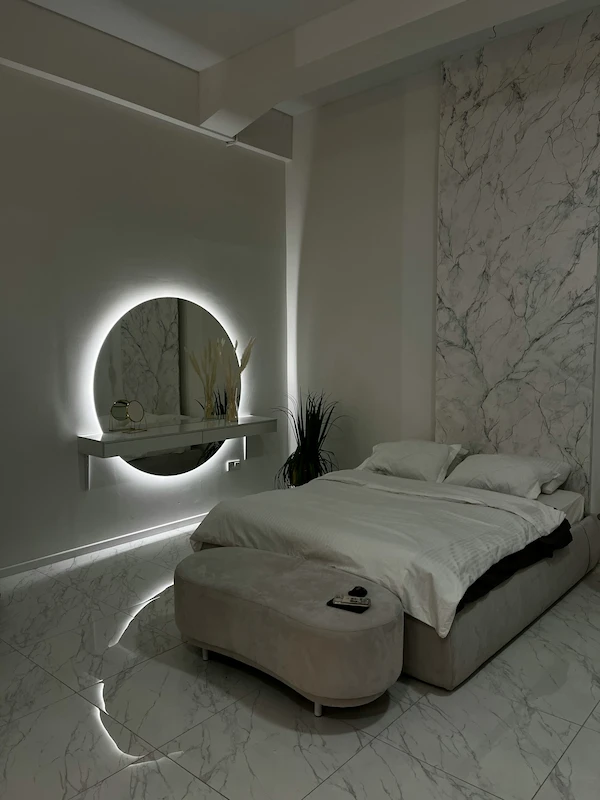
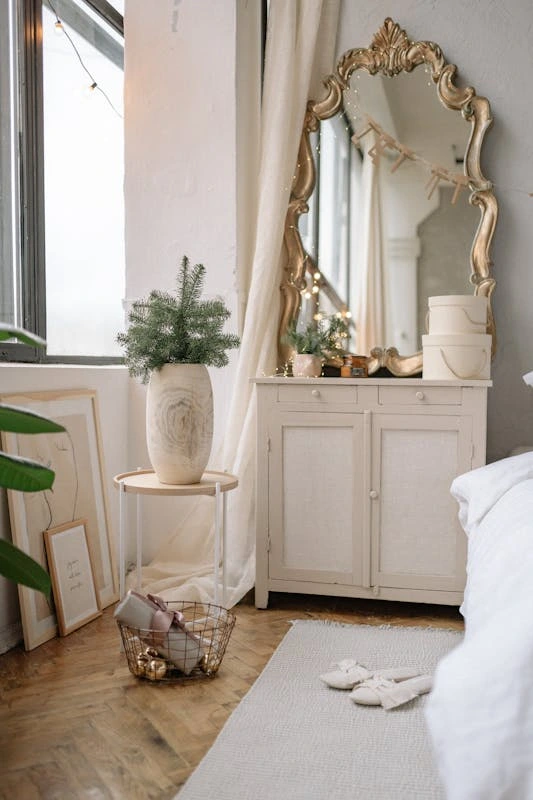
Arched Mirrors: Softening All the Straight Lines
Rectangles dominate most bedrooms: beds, wardrobes, doors. An arched vanity mirror instantly softens that grid.
- Arches echo current Japandi and organic modern trends without locking you into a specific style.
- The curve draws the eye up, making low ceilings feel higher.
- I like a frame in brushed metal or slim wood; oversized ornate frames quickly look dated.
If your vanity is narrow, choose a tall, slim arch to elongate the whole wall.
H2: The Sit-Test: Chair vs. Table Height
Beautiful vanities that are uncomfortable simply do not get used. Ergonomics is where you quietly turn “pretty corner” into “daily ritual”.
The Elbow Rule: Instant Height Check
You do not need exact measurements; you need a simple test.
- Sit on the chair or stool you plan to use.
- Place your forearms on the vanity tabletop as if you are applying skincare.
- If your shoulders are lifted or tense, the table is too high; if you are bending forward, it is too low.
Ideally, your elbows rest at a relaxed angle and your spine feels neutral, not hunched.
Stool vs Chair: Which One Wins?
Stools look minimal and are easy to tuck away, but:
- For quick touch-ups, a stool is fine.
- For longer sessions (hair plus makeup), a chair with back support is much kinder to your posture.
- A low-profile dining chair often works better than most “vanity chairs” sold online.
In small bedrooms, I like using a comfortable chair that can also work at a desk or be pulled over as extra seating. One good chair is better than three mediocre perches.
If you treat your vanity like a mini workspace for your face – with correct light, logical layout, hidden organization, and real comfort – it stops being a messy corner and becomes one of the most satisfying spots in your bedroom.
Start with the lighting rules, pick the layout that matches your room, then choose finishes that will still feel good in five years, not just in next week’s photo.