Bathroom Remodel Steps & Cost Guide (2026 Project-Manager Edition)
A bathroom remodel not only enhances the value of your home but also contributes to your daily comfort. However, if you are not careful as you go through the remodel process, you may find yourself in a money pit before you know it. I see this happen time and again when people are going through the remodel process; they purchase a vanity before they have plotted out their plumbing, they choose tile before they have confirmation of their shower layout, and they overspend on fixtures and end up with no money left over for waterproofing.
Treat this entire project as though it were a construction site, instead of just being a collection of ideas or a mood board. By following the proper bathroom remodel steps and understanding the costs involved I believe that your entire bathroom remodeling experience will be much less stressful and more predictable than if you had not planned properly.
The “Golden Sequence”: Order of Operations
Most remodel disasters are not about bad taste; they are about bad sequencing. If you follow the right bathroom remodel order of operations, you protect both your budget and your sanity.
I always recommend thinking in four clear phases.
Phase 1: Demo & Rough-In
This is the messy, noisy part.
- Strip the room back to studs and subfloor if you are doing a full gut, especially in older homes.
- At this stage, your contractor will expose plumbing and electrical runs, and you must finalize drain locations, venting, and supply lines.
- The slope of the shower drain, the exact toilet position, and any wall niches must be decided now, not after the tile arrives.
In my experience, trying to “tweak” the layout after rough-in is done is what leads to expensive change orders.
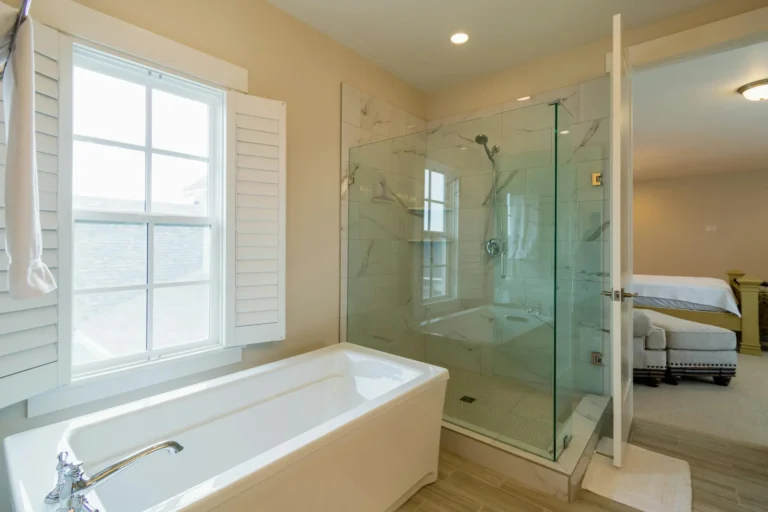
Phase 2: The “Wet” Work (Most Critical)
This is the waterproofing phase, and it is non-negotiable.
- Install the tub or shower pan first, then build your shower walls if they were moved.
- Apply a proper waterproofing system (like a liquid membrane or sheet system) on the shower floor, walls, benches, and niches.
- Corners, seams, and screw penetrations are the failure points; this is why I do not recommend DIY waterproofing unless you really know what you are doing.
If you cheap out anywhere, do not let it be here. A pretty tile job over bad waterproofing is just a delayed leak.
Phase 3: Floors & Walls
Now the “pretty” work starts, but the sequence still matters.
- Install or repair the subfloor, then lay your underlayment if required.
- Tile the floor first, then the walls, or follow your contractor’s preferred method – the key is that all tiling and grouting is complete before any vanity or toilet is installed.
- At the tub/shower, the wall tile should overlap the tub lip, not stop above it. This creates a proper watershed so water cannot run behind the tub.
I prefer to have all wet-area tiling and grout fully cured before bringing in any cabinetry, simply to avoid chips and stains.
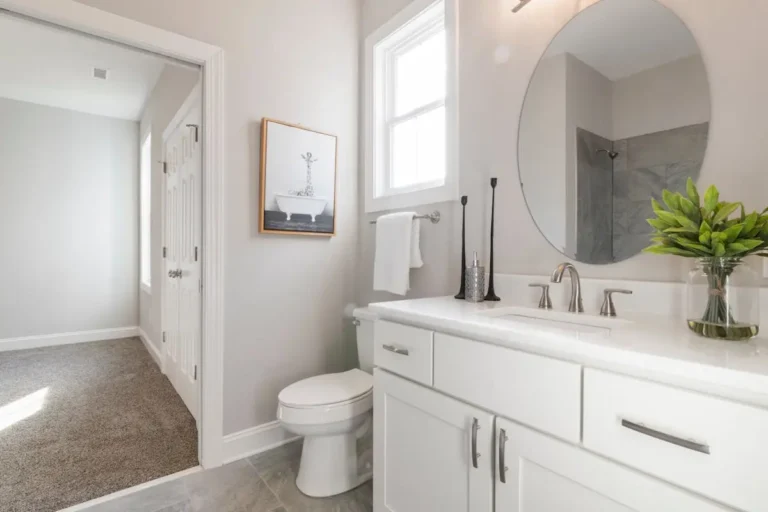
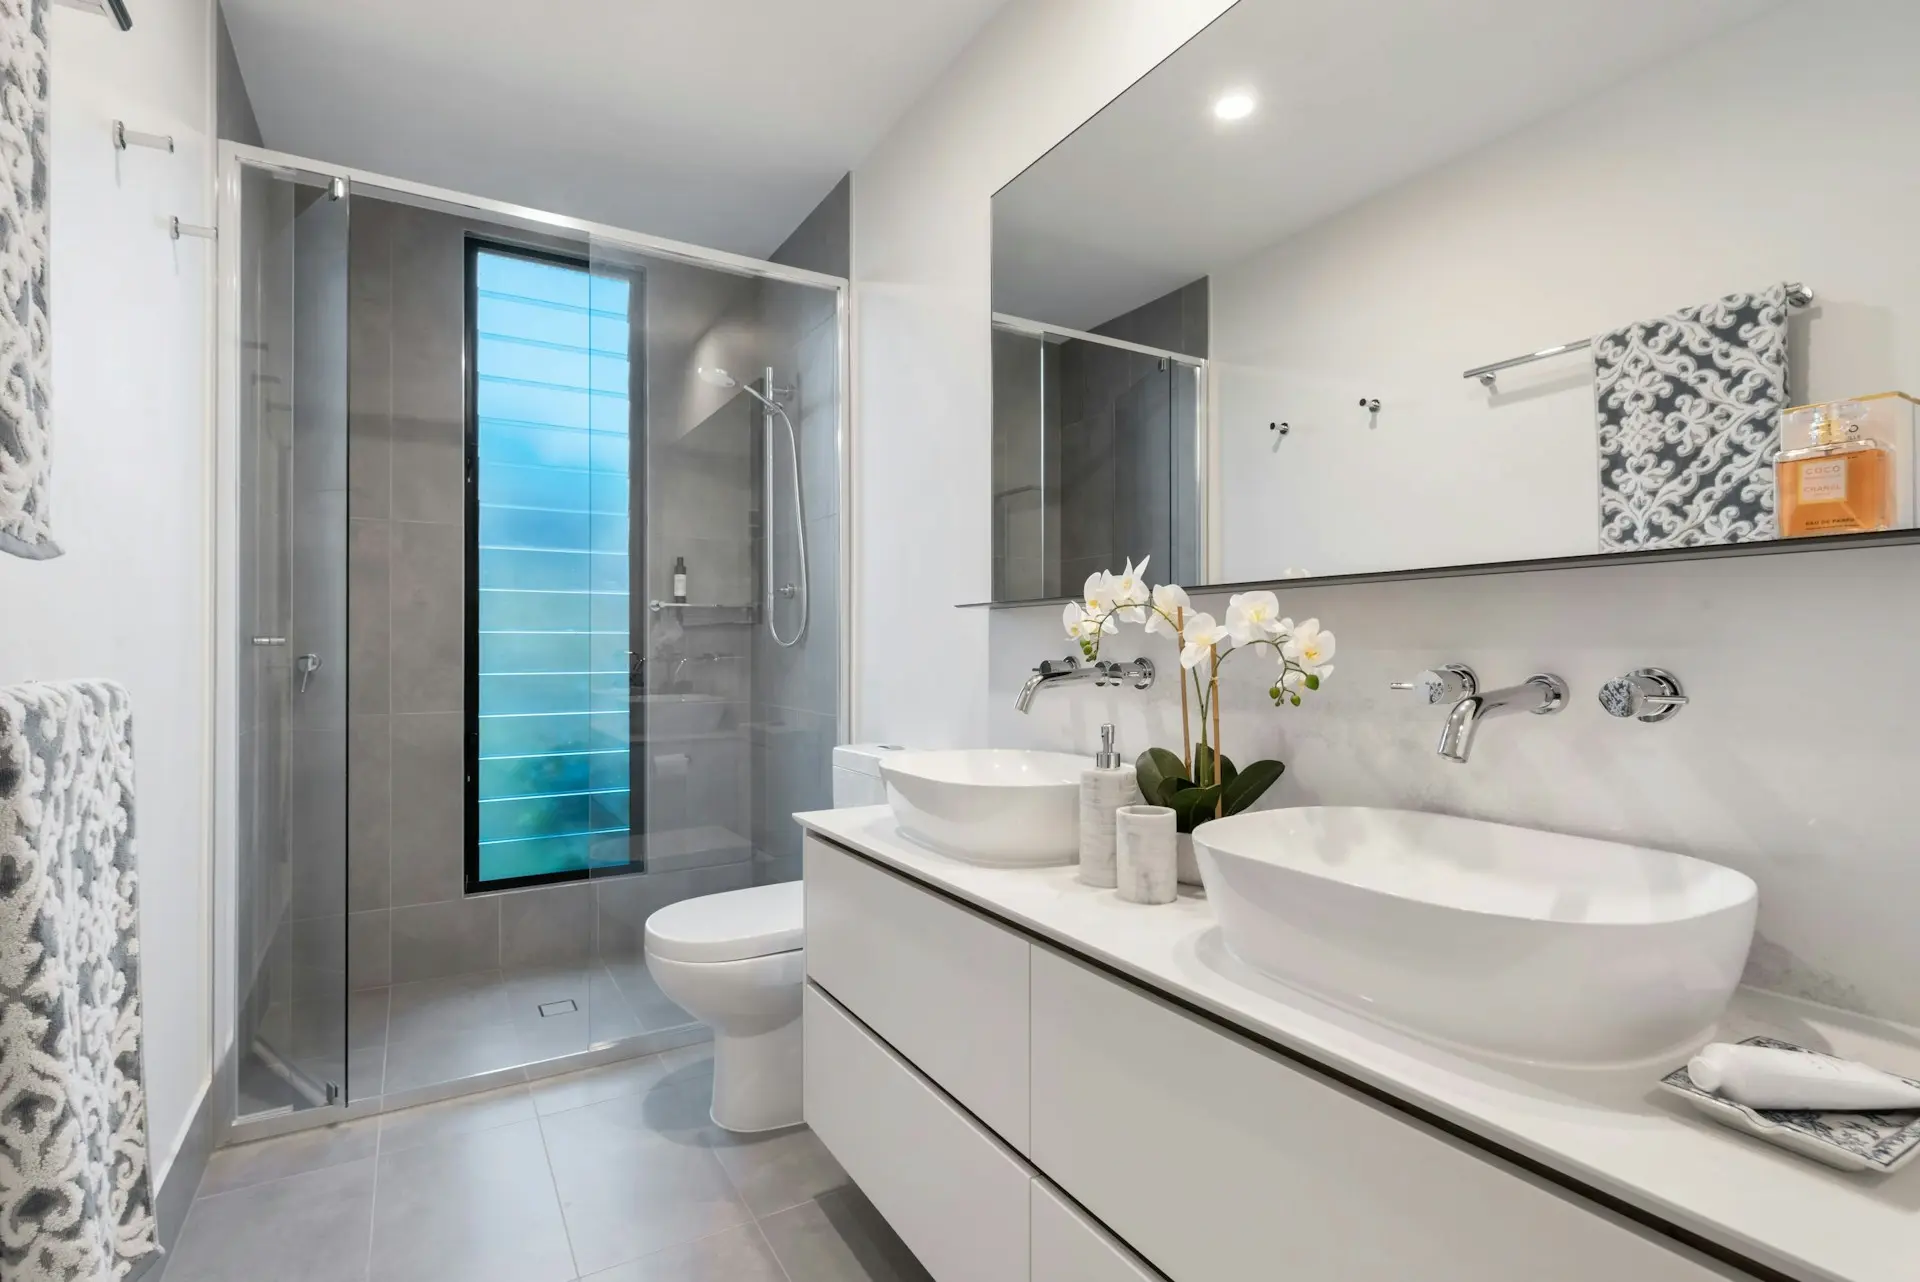
Phase 4: The Finish (Fixtures, Fittings, and Lights)
This is where everything clicks together.
- Install the vanity, countertop, sink, and faucet on top of the finished floor. This avoids awkward cut-outs and visible gaps if you ever change the vanity later.
- Set the toilet only after the flooring is done so it sits cleanly on the tile.
- Then add lighting fixtures, mirrors, accessories, and hardware last, when there is minimal heavy traffic in the room.
Think of this phase as styling a finished shell, not trying to work around tools and tile saws.
Budgeting Breakdown (2026 Prices)
Let’s talk about money clearly. A lot of “master bathroom remodel budget breakdown 2026” articles either understate costs or ignore the unglamorous line items.
A simple structure I like is the 50/40/10 rule.
The 50/40/10 Rule
- 50% Labor:
- Plumbing, tiling, carpentry, and electrical eat up the biggest slice.
- Skilled labor is where you pay for experience, waterproofing quality, and code compliance.
- 40% Materials:
- Tile, fixtures, vanity, shower glass, lumber, waterproofing systems, and paint.
- This is also where budget swings happen: a stock vanity vs. custom cabinetry can double this portion.
- 10% Admin & Overhead:
- Permits, dumpster or skip rental, delivery charges, and waste disposal.
- This category also covers small surprise items: extra backer board, new shut-off valves, or additional ventilation parts.
On top of this, I strongly recommend a 20% contingency. Hidden damage behind old tile is extremely common: mold, rot, or outdated galvanized pipes that really should be replaced while the walls are open.
The “Invisible” Costs People Forget
These are boring but very real:
- Dumpster / skip fees for old tile, drywall, and fixtures.
- Delivery and restocking fees if tile quantities change.
- Upgrading old pipes to modern materials when the walls are open.
- New ventilation fan and ducting if your existing one is weak or non-compliant.
If your spreadsheet doesn’t have a line for these, it is not a realistic budget yet.
Logistics: Living Through the Dust
The design part is fun; the live-through-it part is not. Planning logistics is what keeps a bathroom remodel from taking over your entire house.
Dust Containment and Protection
- Ask your contractor to use zip-wall plastic barriers to isolate the work area from the rest of the home.
- Close or cover vents in the work zone so dust does not get pulled into your HVAC system.
- Protect adjacent floors with ram board or heavy paper so tiles and tools are not grinding grit into your hallway.
A well-contained site feels dramatically less stressful.
Material Staging and Storage
Ordering too early is a common mistake.
- Tile and vanities are bulky; they need somewhere dry and flat to live until needed.
- If you don’t have a garage, do not order everything months in advance. Instead, time deliveries to arrive one or two weeks before installation.
- Always open a few boxes of tile to check shade and batch before you start. Catching a color mismatch late is a nightmare.
In my experience, a simple staging plan saves both money and nerves.
The “One Bathroom” Problem
If this is your only bathroom, logistics matter even more.
- A full gut means you will lose use of the room for at least a couple of weeks.
- Plan for alternatives: a gym membership for showers, staying with family for part of the work, or a portable toilet for emergencies.
- Build any rental or temporary living cost into your overall budget instead of treating it as a surprise.
It is much easier to tolerate dust when you are not also improvising where to brush your teeth every night.
DIY vs. Pro: What Is Safe to DIY?
I love a good DIY project, but bathrooms are where water and electricity meet; the stakes are high. Some things are absolutely fine to take on yourself, and some are not worth the risk.
Green Light: Safe DIY Tasks
These are tasks I am comfortable recommending to confident homeowners:
- Demolition (with care):
- Removing old tile, vanities, and trim is doable if you are careful around pipes and wiring.
- Painting walls and ceilings:
- Use quality moisture-resistant paint and take your time on prep.
- Installing vanity hardware and simple accessories:
- Towel bars, hooks, toilet roll holders, and mirrors (if you are comfortable with anchors and a level).
- Caulking around the tub and vanity:
- Clean caulk lines make a bigger visual difference than people expect.
If you are detail-oriented and patient, these DIY tasks can meaningfully cut costs.
Red Light: Call a Professional
These are where I draw the line:
- Waterproofing the shower:
- This is the most common failure point in DIY bathrooms. One pinhole or missed seam can lead to hidden leaks and structural damage.
- Moving the toilet flange or shower drain:
- Drain and vent layouts are governed by code and physics. Get a licensed plumber.
- Electrical work in wet areas:
- GFCI outlets, lighting over showers, and fan wiring all have strict safety rules. This is not the place to improvise.
In my experience, paying a pro for these specific pieces is cheaper than fixing a failed “budget” job later.
FAQ
How much does a 5×8 bathroom remodel cost in 2026?
For a typical 5×8 bathroom, expect roughly $15,000–$25,000 for a mid-range, professionally managed remodel with decent fixtures. If you are willing and able to DIY a lot of the labor, you might be closer to $5,000–$10,000, depending on tile choices and how much you re-use. Location and material choices still make a big difference.
Do I need a permit to remodel my bathroom?
In most areas, you do need a permit if you are:
- Moving plumbing locations.
- Adding or changing electrical circuits.
- Moving or removing walls.
If you are simply swapping like-for-like fixtures (new vanity in same spot, new toilet, new faucet) and not touching the rough plumbing or electrical, many municipalities do not require a permit. Always check your local rules; it is easier to ask upfront than to untangle it when you sell.
How long does it take to tile a bathroom?
Even a small bathroom tiling job is rarely a one-day task.
- Day 1: Surface prep and layout.
- Day 2–3: Laying tile on floors and/or walls.
- Day 4: Grouting once the thinset has cured.
- Day 5: Sealing grout or stone if required.
So allow 3–5 working days just for tiling and finishing, and make sure that fits comfortably into your overall 25-day remodel timeline.
If you approach your bathroom remodel like a layered project – sequence first, budget second, aesthetics third – you will end up with a space that feels beautiful and built properly behind the walls. That is what actually protects both your investment and your everyday comfort.