Warm Light Bathroom Design: The 2700K Guide (2026)
Most bathrooms are accidentally lit like supermarkets.
Too cold, too bright, and absolutely unforgiving.
If your tiles look grey, your skin looks tired, and your “relaxing” bath feels more like a medical check-up, it’s almost never the tiles’ fault. It’s the light temperature. Get the Kelvin wrong and even a luxury bathroom looks cheap. Get it right and a very average bathroom suddenly feels like a boutique hotel suite.
In this guide, we’ll treat lighting like a design material: I’ll walk you through exactly how to use 2700K and 3000K together, where to place each type of light, and how to layer ambient, task and accent lighting so your bathroom works for both eyeliner and evening baths.
Mastering the Kelvin Scale (2700K vs 3000K)
Think of Kelvin as the “mood slider” of your bathroom. Same space, same tiles, completely different feeling depending on whether you go warm or cool.
2700K (Warm White): The Sunset Setting
2700K is that soft, golden light you get from a lamp in a cosy living room.
In a bathroom, I like it for:
- Ceiling downlights on a dimmer
- LED strips under a floating vanity
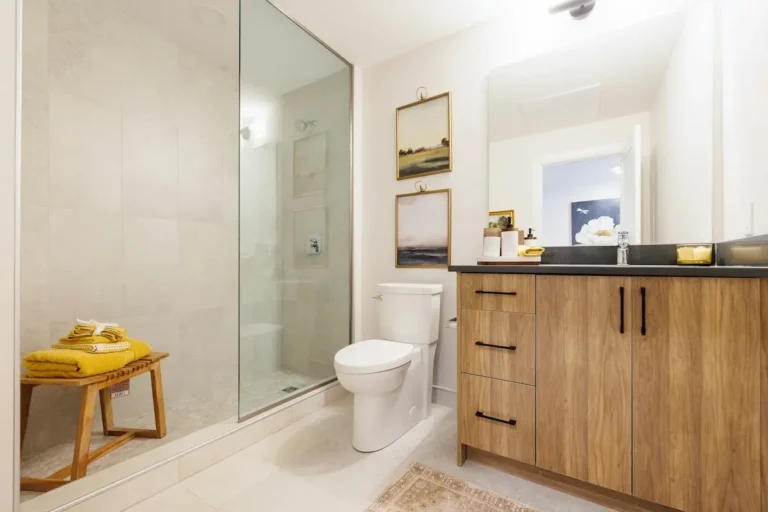
- Warm glow in shower niches and behind freestanding tubs
It’s flattering, it calms you down, and it’s the closest you’ll get to candlelight without setting up 20 tealights. For anyone who uses the bathroom as a wind-down space at night, 2700K is your base layer.
3000K (Soft White): The Face-Flattering Workhorse
3000K is where I draw the line for tasks. It’s still warm, but cleaner and less “golden”.
I prefer 3000K for:
- Vanity sconces or mirror lights (anything that lights your face)
- Ceiling spots directly above the vanity if you can’t add sconces
- Rooms with no natural light where 2700K alone can feel a bit dingy
3000K is bright enough to see real colours but not so cold that it clashes with warm stone, beige paint or wood.
The “Clash” Rule
One of the biggest mistakes I see: mixing a warm light strip (around 2700K) with a harsh 4000K overhead fitting. The result looks like two different bathrooms fighting each other.
As a rule:
- Never mix more than 500K difference in one small bathroom.
- Aim for a 2700–3000K family and stay away from 4000K+ unless you’re designing a dentist’s office.
The “Three-Switch” Layering Strategy
If you want that hotel feeling at home, stop thinking about “a light” and start thinking in layers. Three switches minimum is ideal: clean, face, and glow.
Layer 1: The Clean (Overhead)
This is the bright, functional light you use to scrub the tiles or find the rogue contact lens.
- Use recessed downlights or a flush ceiling fitting.
- Keep them in the 2700–3000K range and put them on a dimmer.
- Space spots around the room rather than one aggressive centre light that throws harsh shadows.
Tip: In a small bathroom, two to four recessed cans are usually plenty. More lights doesn’t automatically mean better; it just means more shadows if they’re badly placed.
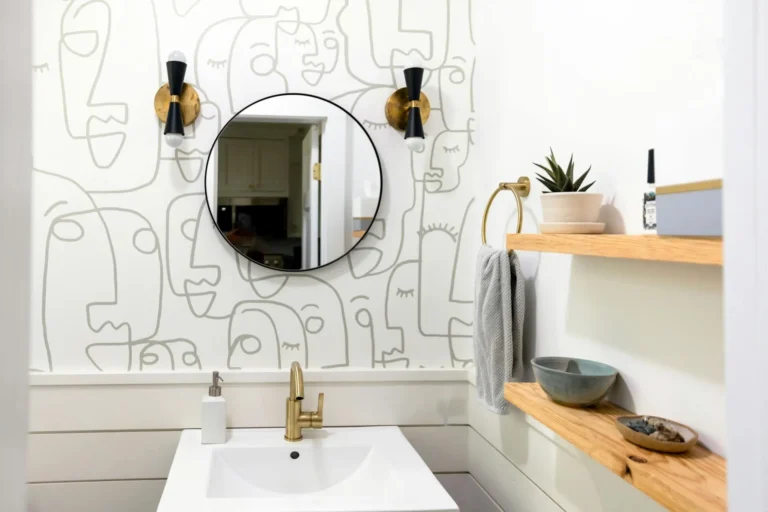
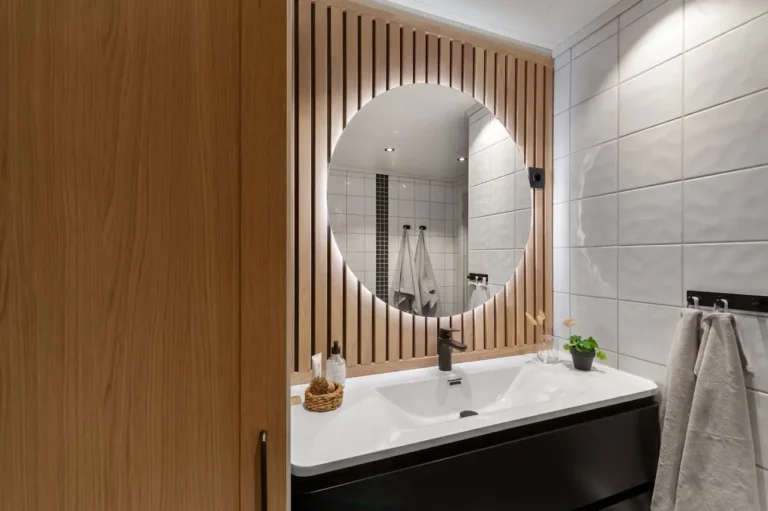
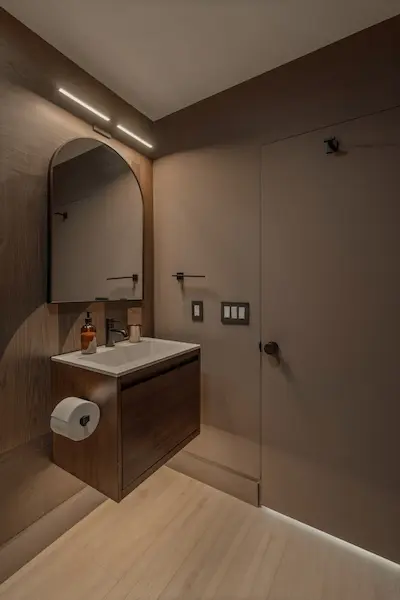
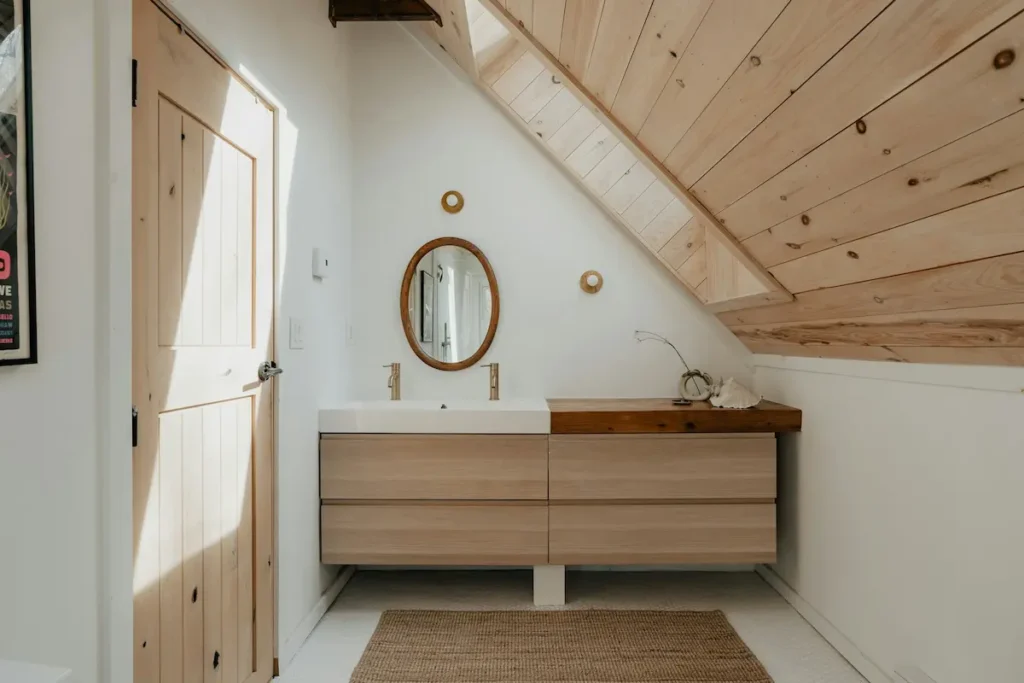
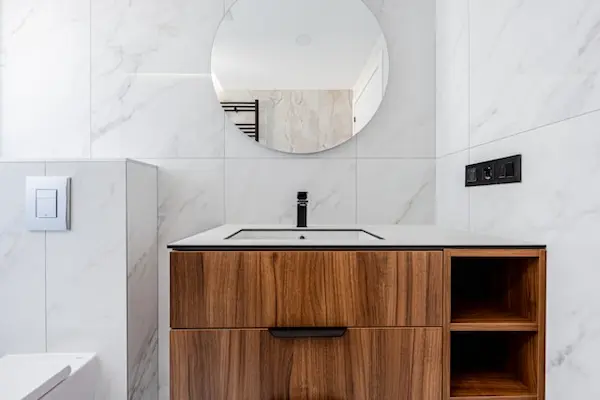
Layer 2: The Face (Sconces / Mirror Lights)
If you only fix one thing, fix this. Overhead-only lighting is why people hate how they look in their bathroom mirror. It throws shadows under your eyes, nose and chin.
For good task lighting:
- Place sconces either side of the mirror, roughly at eye level.
- Aim for 3000K with high CRI (90+) so your skin tone and makeup colours look accurate.
- If you can’t do side sconces, use an integrated mirror light at face level rather than a spotlight in the ceiling.
In my experience, side sconces at 3000K + dimmable overhead 2700K is the sweet spot. You get both precision and softness.
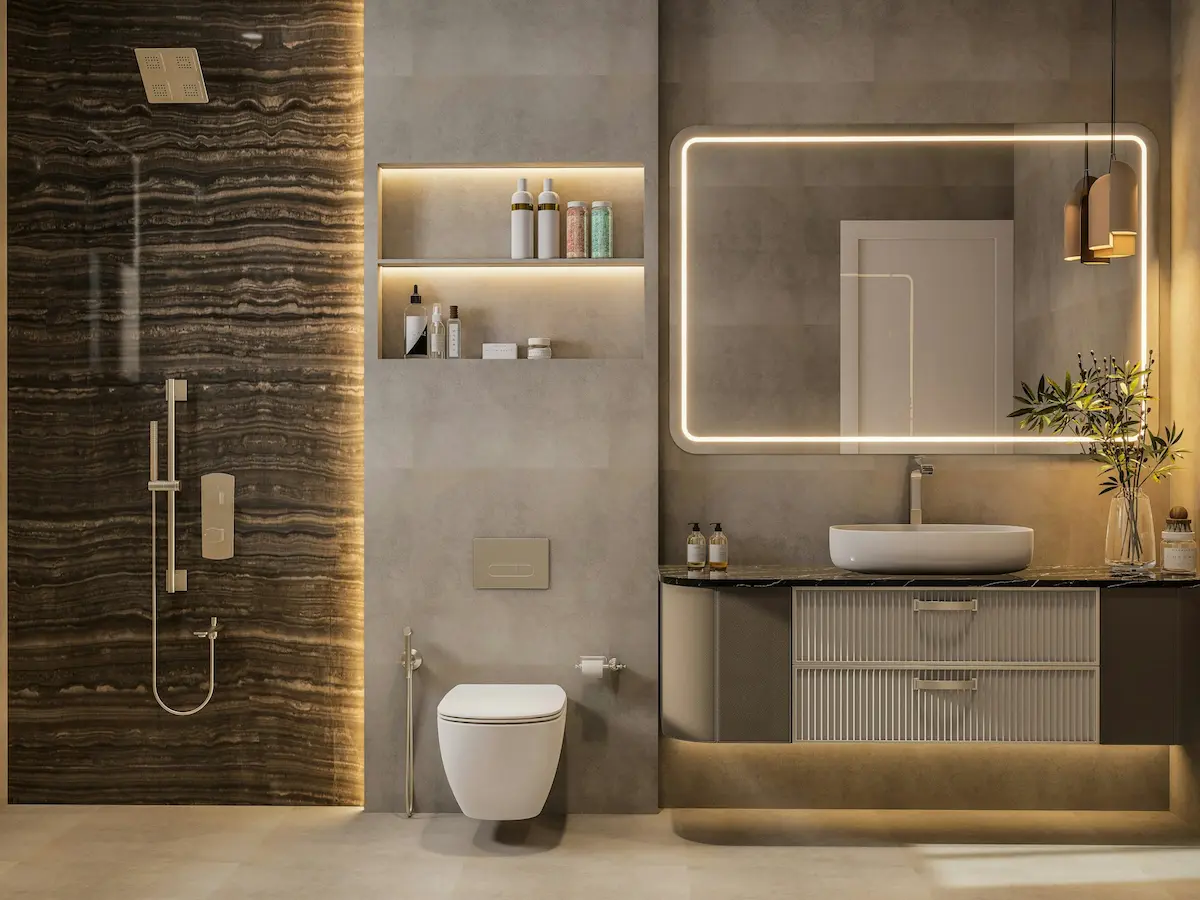
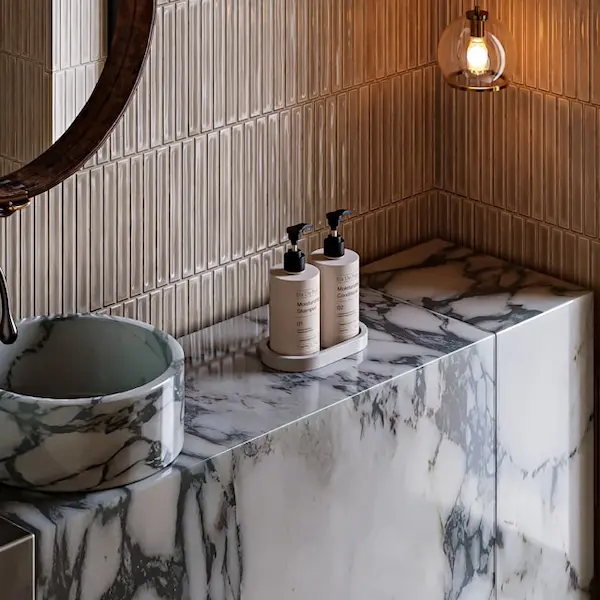
Layer 3: The Glow (Accent)
This is the “I’ve finished the day, leave me alone” layer.
Use accent lighting to outline the architecture of the bathroom:
- LED strips under a floating vanity so it appears to hover
- Backlighting behind a mirror to create a halo
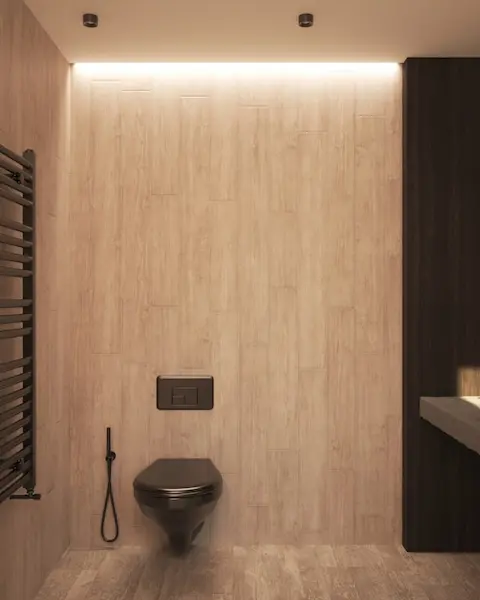
- Niches in the shower or next to the tub with 2700K strips
This is the only layer I recommend leaving on during a bath. Everything else can go off or down to a low dim level.
2026 Trend – “Dim-to-Warm” Technology
Standard LED bulbs have one annoying quirk: when you dim them, they just get dull and grey. The colour temperature doesn’t change, which is why dimmed 4000K looks sad rather than cosy.
Dim-to-warm LEDs fix that.
- At full brightness they sit around 3000K for tasks.
- As you dim them down, they drift towards 1800–2200K, which is that candlelight/lantern glow.
In practice, this means:
- Bright enough for morning routines
- Soft, amber glow for night-time baths without needing separate fixtures
If you’re renovating in 2026, I’d seriously consider specifying dim-to-warm downlights for the main ceiling. You pay a bit more up front, but you avoid the “flat grey when dimmed” problem completely.
Safety Zones (The Simple Version of the Technical Stuff)
Bathrooms and electricity are not friends, which is why there are “zones” around water that dictate what kind of fitting and IP rating you need. You don’t have to memorise the standards, but you should understand the logic.
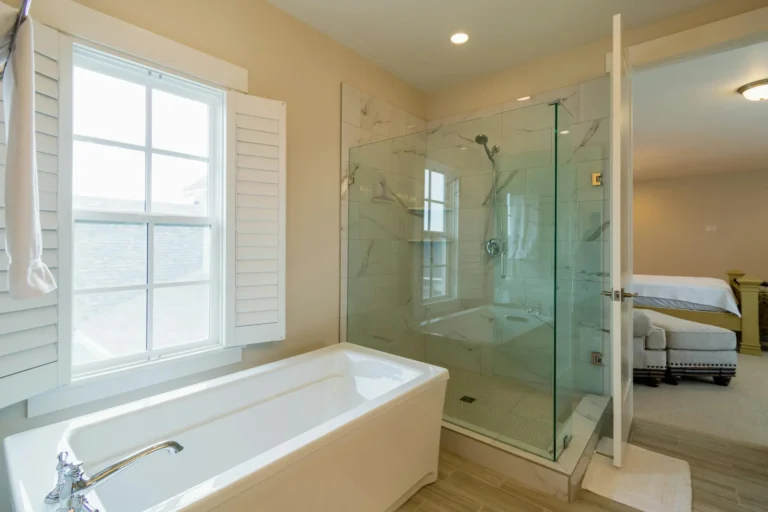
Zone 0 – Inside the Shower / Tub
- Think: inside the bath or the floor of the walk-in shower.
- Here, fittings must be low voltage and highly sealed (IP67 style protection – designed to cope with immersion).
- This is where you’d put a safe, purpose-made niche light, not a random fairy light strip.
Zone 1 – Direct Splash
- The space above the shower or tub where water can hit directly.
- Here you need fittings with strong protection, typically IP65 type protection.
- If you want a downlight above the shower, choose one specifically rated for this zone.
Zone 2 – Around the Vanity
- About 60cm around the basin where splashes are likely.
- Aim for at least IP44 type protection – protected against water splashes and bathroom humidity.
My rule of thumb: if it’s near steam or splashes, don’t cheap out. Choose fittings clearly labelled for bathroom use and, ideally, have a qualified electrician sign off placement.
The CRI Secret (Why Your Makeup Looks Wrong)
You can have perfect 3000K lighting and still hate your reflection if the CRI is low.
CRI (Color Rendering Index) measures how accurately a light source reveals colours compared to natural daylight. The higher the number (out of 100), the better.
- CRI 80: Standard, acceptable, but can make skin look a little flat.
- CRI 90+: High quality. Reds look red, not brown; your foundation matches indoors and outside.
In my experience, upgrading from CRI 80 to CRI 90+ at the vanity makes a bigger difference than changing the mirror. If you struggle with makeup looking great in the bathroom but odd in daylight, this is usually the missing piece.
Checklist for vanity lighting:
- 3000K
- CRI 90+
- Light coming from the front/sides, not just above
Get those three right and most people suddenly like their own bathroom selfies a lot more.
Layering Bathroom Lighting (Ambient, Task, Accent)
Let’s pull all of this together into a simple framework you can actually implement.
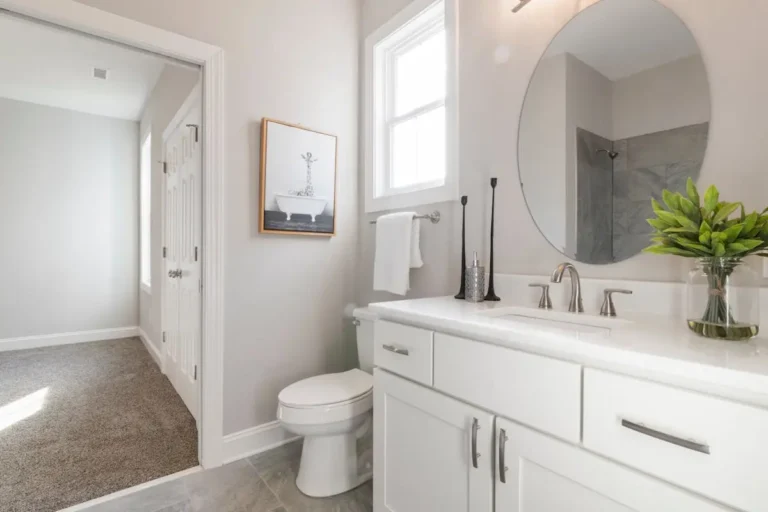
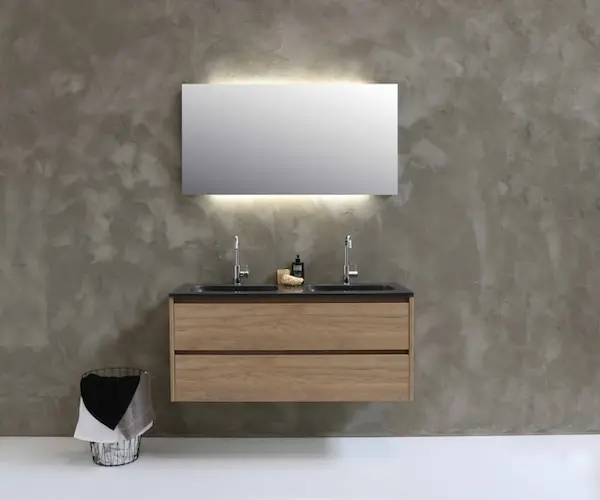
1. Ambient (General Light)
Purpose: Light the room evenly so you can see where you’re going and clean properly.
- Dimmable ceiling downlights
- Semi-flush ceiling fixtures
- 2700–3000K, depending on how “cosy” you want the base layer
If your walls are dark (charcoal, deep green), you may need more ambient lumens than a white bathroom, because dark colours absorb light.
2. Task (Working Light)
Purpose: Light your face and work surfaces.
- Sconces either side of the mirror at 3000K
- Integrated mirror light bars
- Possibly a brighter downlight targeted at the vanity if you don’t have wall space
Don’t rely on a backlit mirror alone for precision jobs. They’re beautiful, but side light is still superior for shadow control.
3. Accent (Atmosphere)
Purpose: Highlight and soften.
- Under-vanity strips at 2700K
- Backlit mirrors
- Niche lighting in showers
This layer is where warm light really gets to shine. It doesn’t have to be very bright; it just needs to be even and well-hidden so you see the glow, not the strip.
Practical Tips: Lumens, Dimmers & Common Mistakes
A couple of quick rules I use on real projects:
- Warm light feels dimmer than cold light. For a warm bathroom, aim for roughly 75–100 lumens per square foot so it still feels functional, not murky.
- Always use dimmers. A fixed-intensity 2700K can still feel too bright for a 6am stumble.
- Match your bulbs. Don’t mix “Warm White” from three different brands; they can vary wildly. Buy all bathroom bulbs from the same range so the colour is consistent.
Common mistakes I’d avoid:
- Mixing 2700K strips with a lone 4000K downlight “because it was already there”. Replace it.
- Putting the only light source directly above the mirror. It will age you 10 years instantly.
- Using exposed festoon or fairy lights over a tub with no IP rating. Cute on Pinterest, not safe in real life.
H3: FAQ
Is warm light bad for applying makeup?
2700K is usually too warm and can hide imperfections, which sounds nice but leads to surprises in daylight. I recommend 3000K with high CRI at the vanity so your makeup still looks right outside, while the rest of the room stays cosy.
How many lumens do I need for a warm bathroom?
Because warm light feels softer, aim a little higher than standard guides: around 75–100 lumens per square foot for the total of all your fixtures. You can always dim down. It’s harder to fix a bathroom that is under-lit from the start.
Can I put a chandelier in a bathroom?
Yes, but with caution. It needs to be rated for damp locations and installed outside the main splash zones. As a general rule, keep it well away from the tub/shower footprint and have a professional confirm it meets your local electrical code. Treat it as an ambient layer, not your only light.
If you take nothing else away from this: stop buying “whatever bulb is on sale” and start choosing light the way you choose tile or paint.
Thoughtful Kelvin + good CRI + layered switches will do more for your bathroom than a lot of expensive decor ever will.